• Pardon the dust while the boys rebuild the site.

    The board will be in a state of disarray as I get things sorted out, for a little while at least.

    The new incarnation is using Xenforo as the system software. It is much like what we are used to, with a few differences. I will see about making a FAQ to help point out the differences for the members.


    One IMPORTANT difference for all of us old timers is that the 'mail' system is replaced with what are called 'conversations'/

    There is no 'Inbox' or 'Out box' or 'Sent' folders anymore.

    Think of Conversations as private 'threads' or topics that don't exist in a forum, that you start with another member. NOTE: Conversations can include more than one member if you or someone else in the conversaion, likes.
    Takes a little getting used to but I am sure you all can get a hang of it.


    Only a slightly modified default default Xenforo style is available for now. Once the new SAG style is ready it will be available.

    All existing users should be able to login with their usernames and passwords once the site goes up.


    If anyone has difficulties logging in please contact me at sixthvanguard@gmail.com.


    Thank you for your support and patience. I know it has been a loooong road.

BIG kitty! Jagdpanther (Lots of pics)

fusilier1944

Company Commander
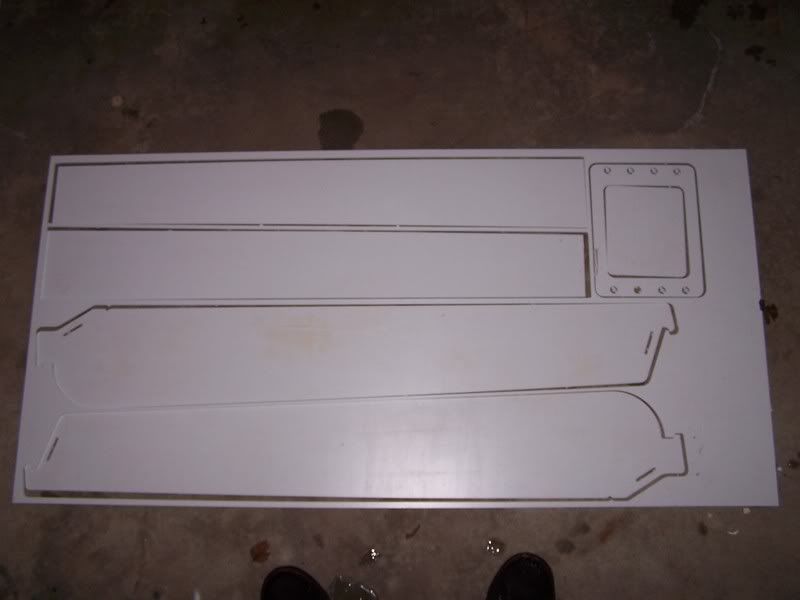
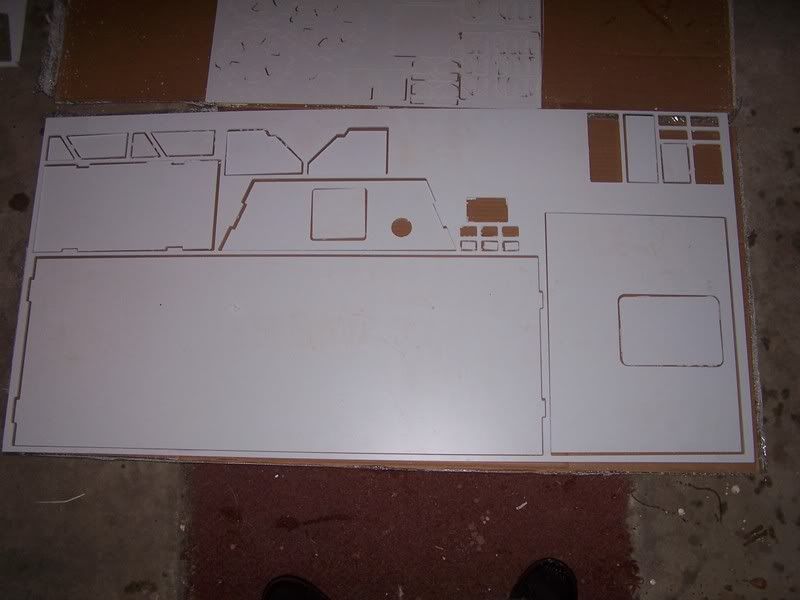
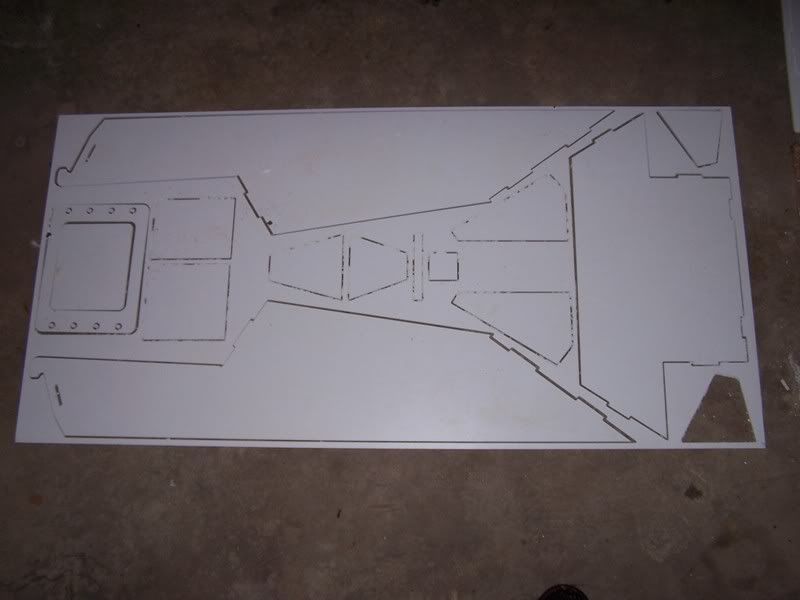
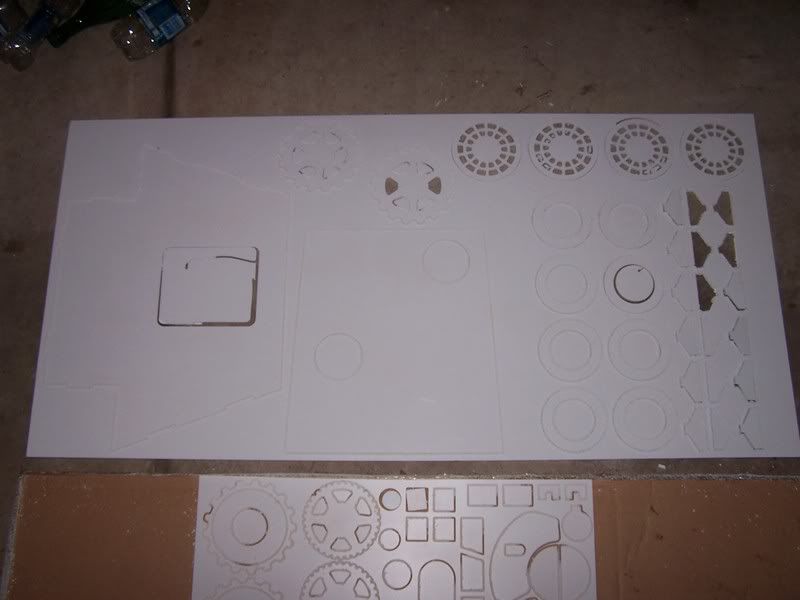
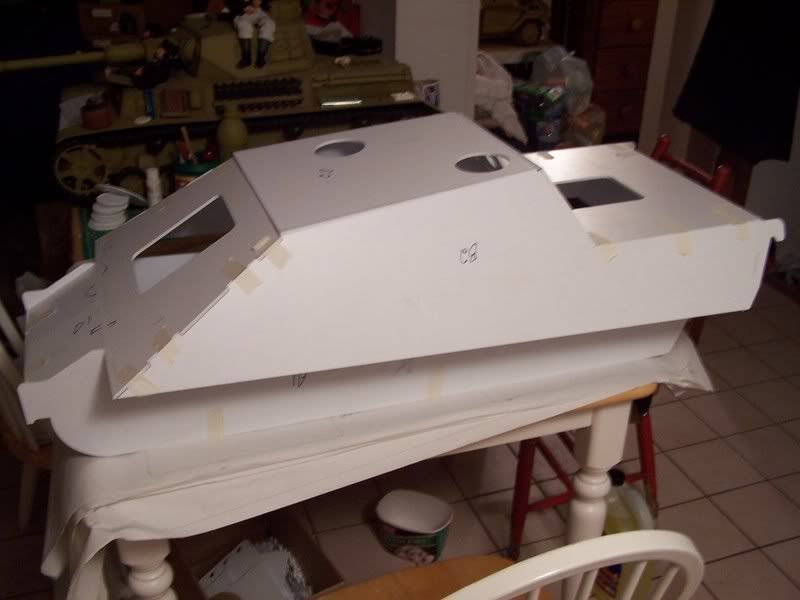
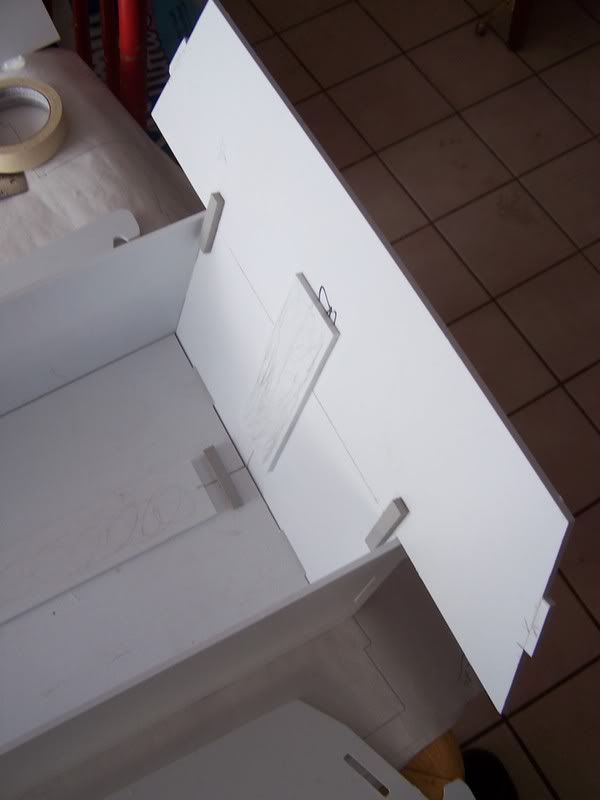
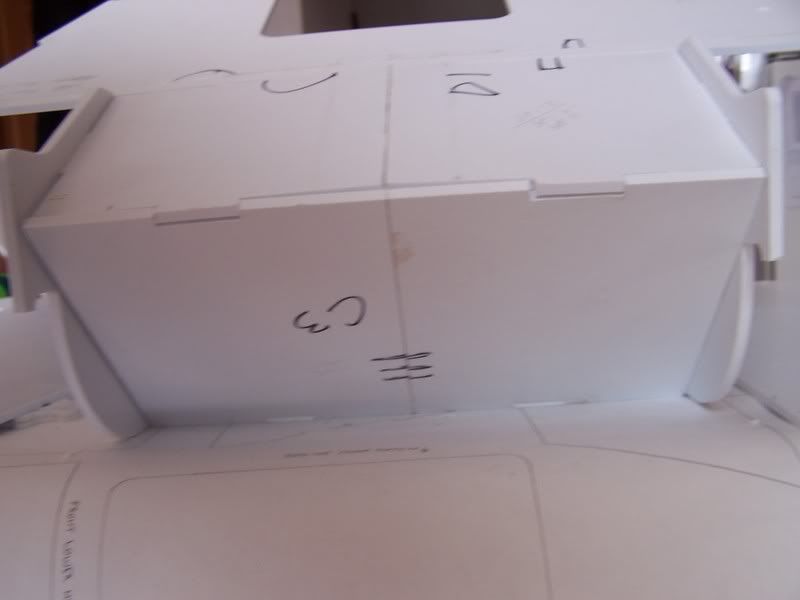
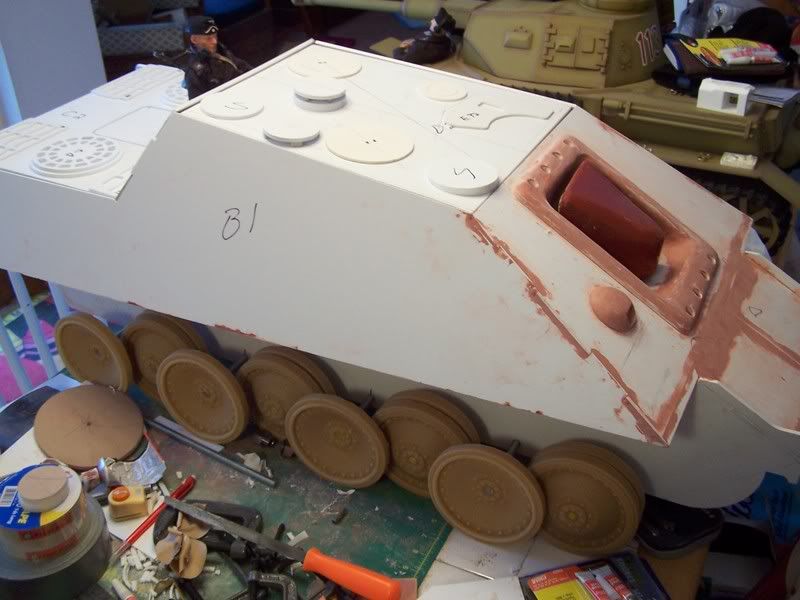
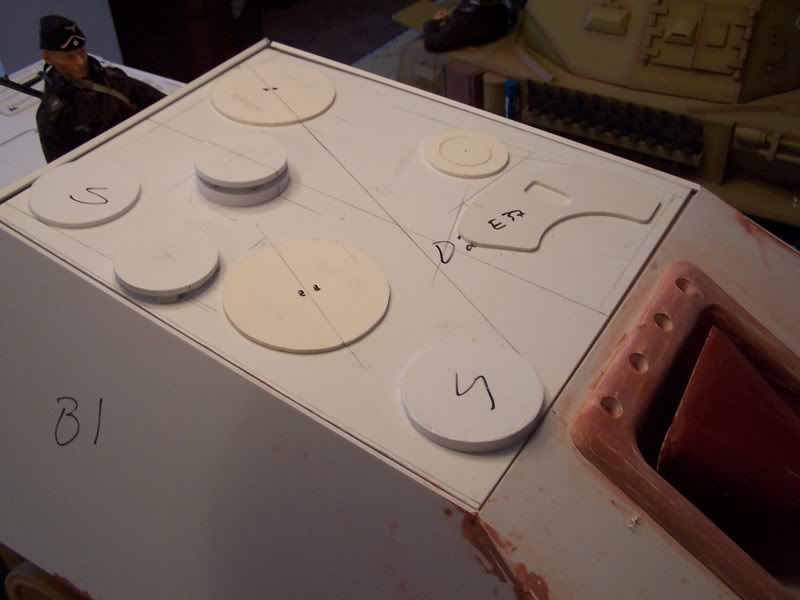
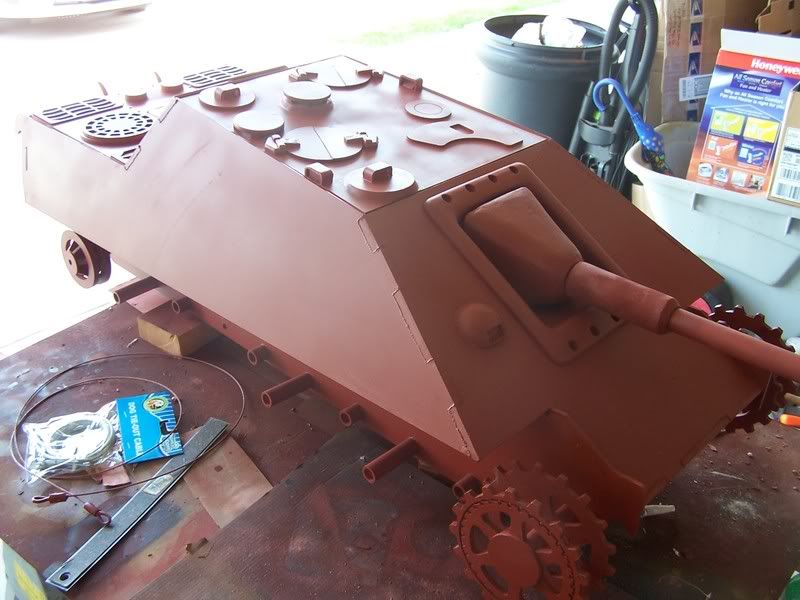
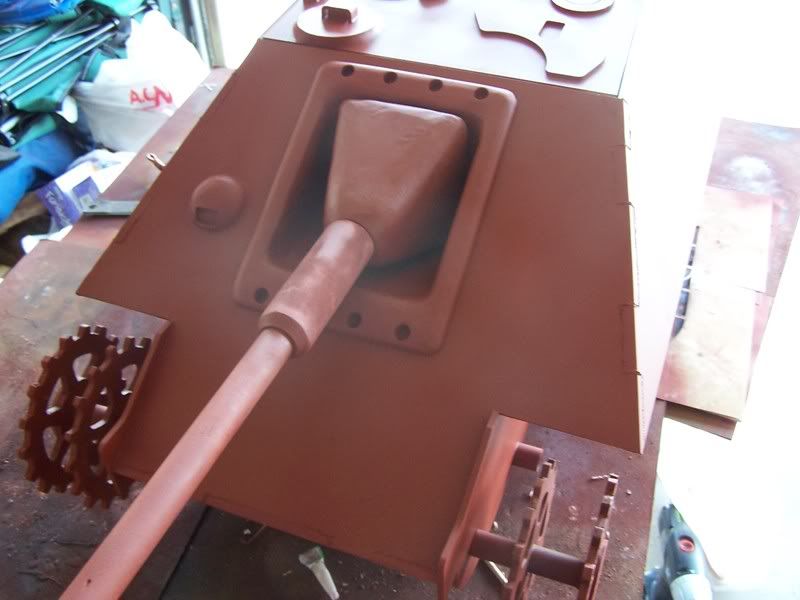
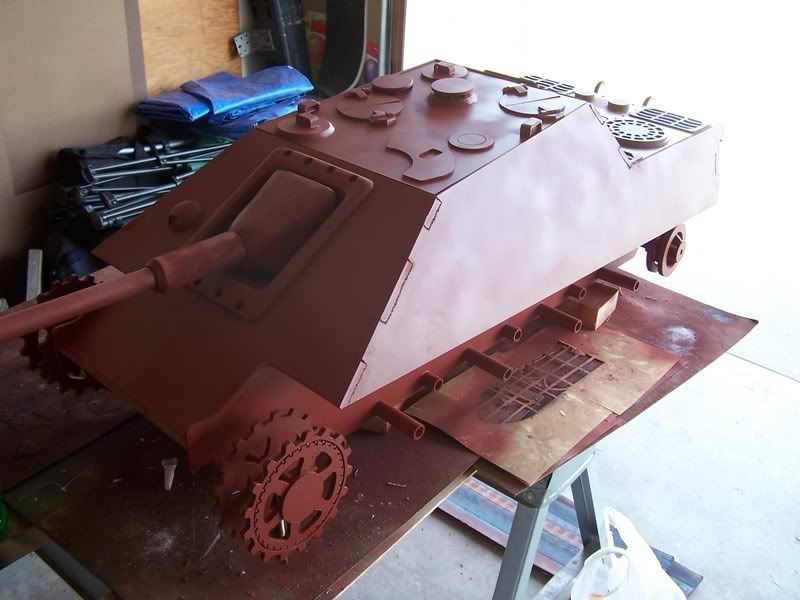
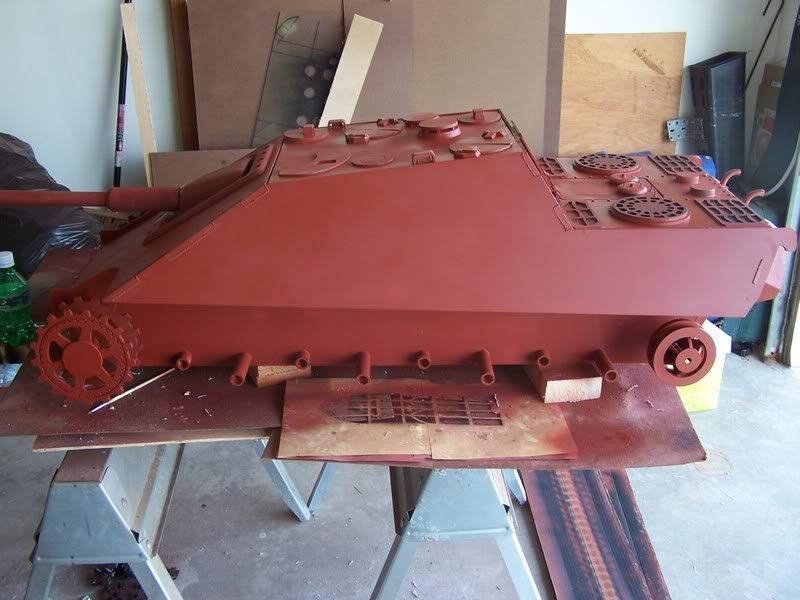
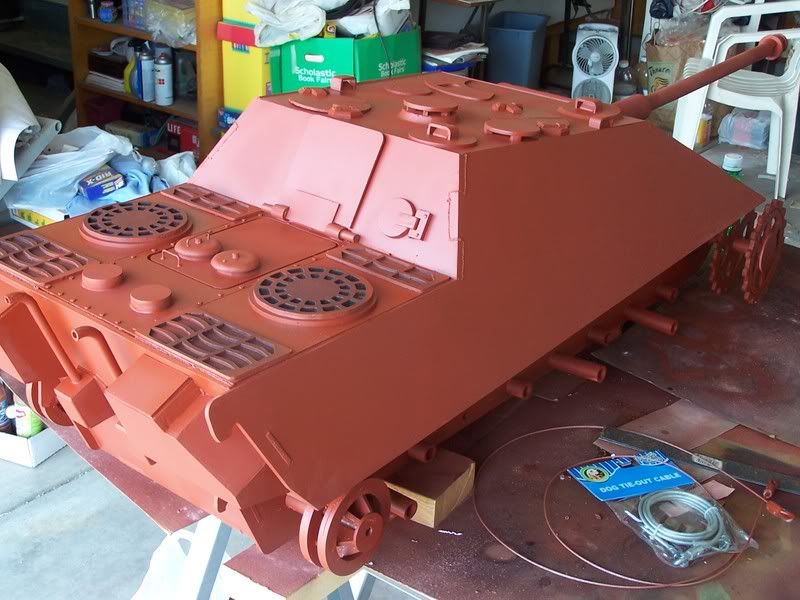
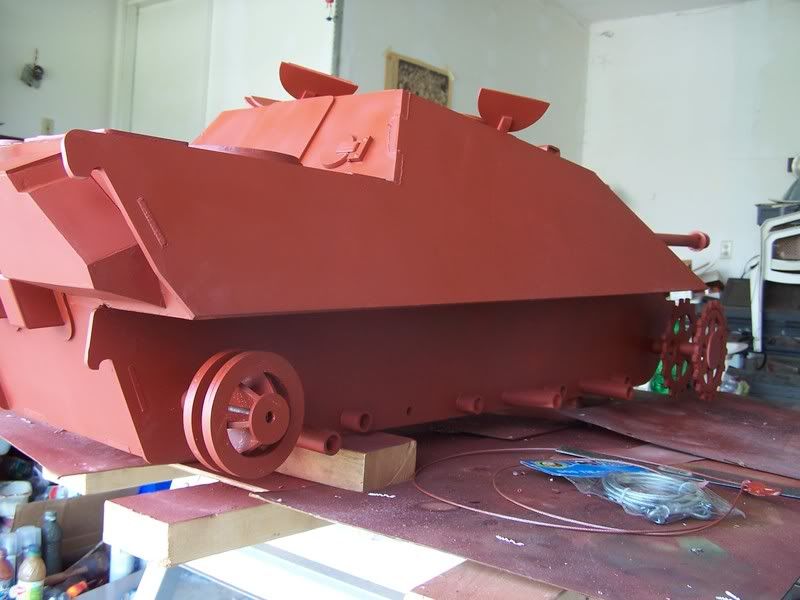
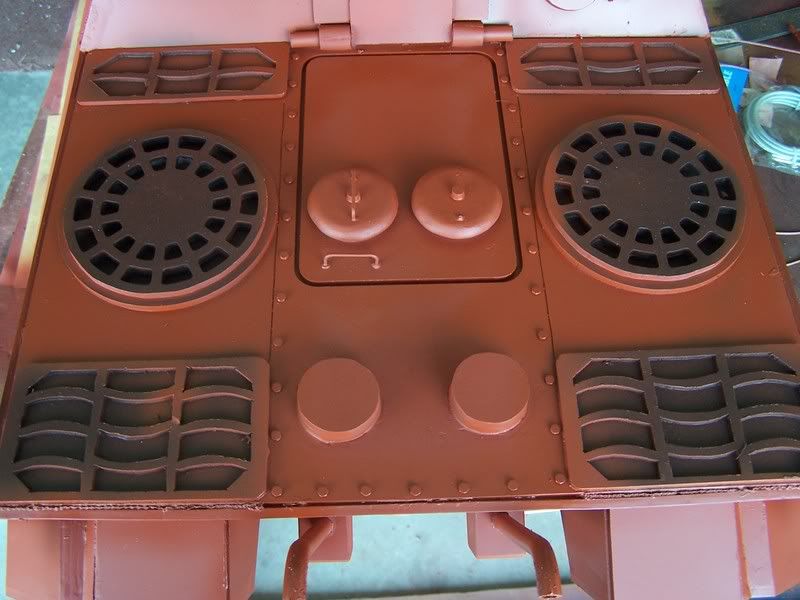
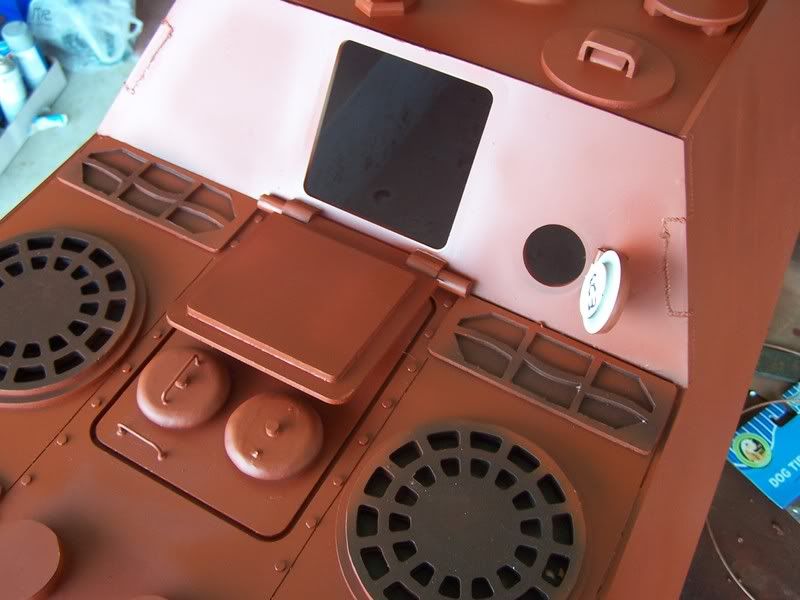
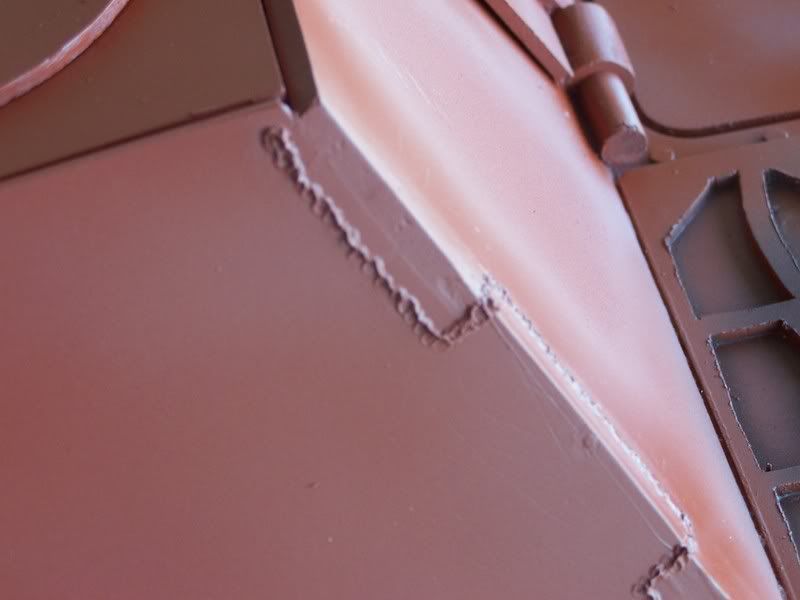
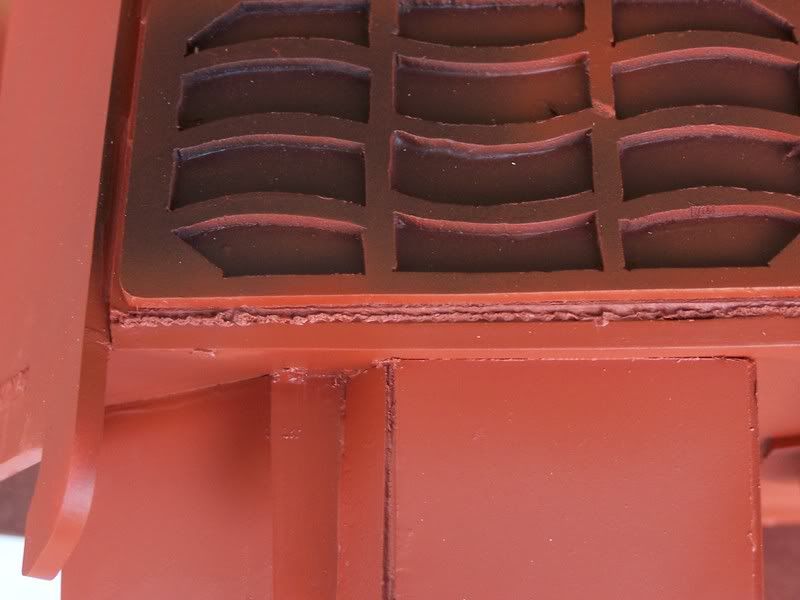
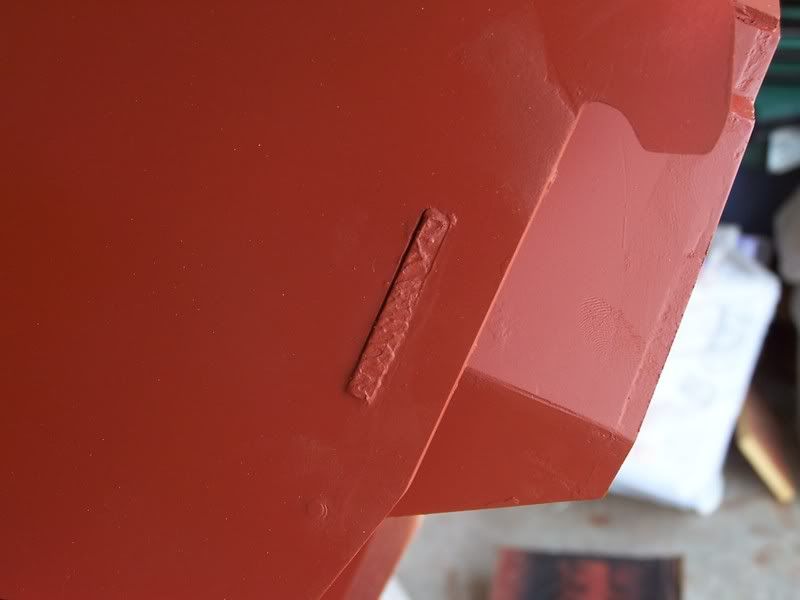
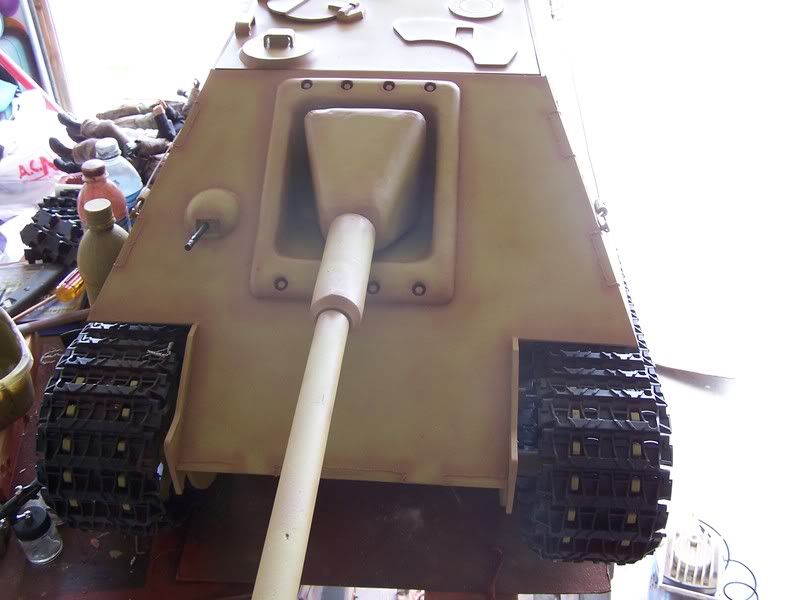
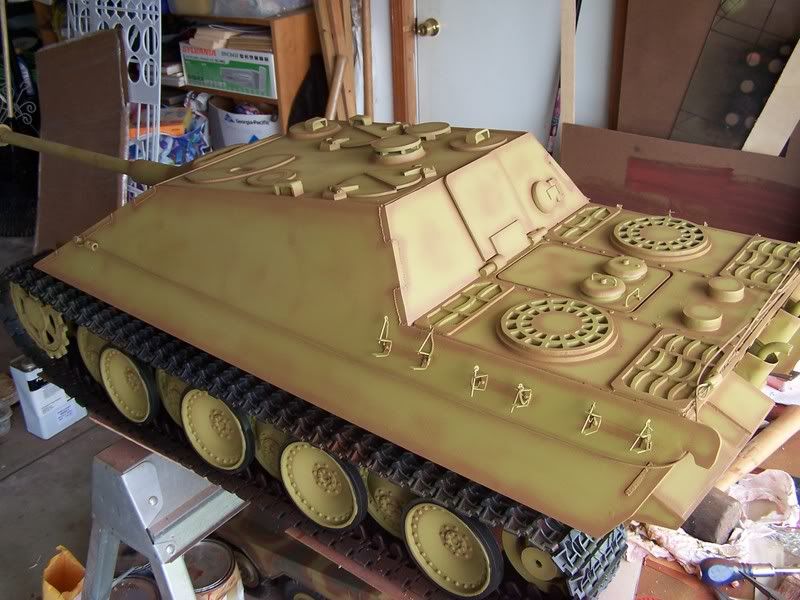
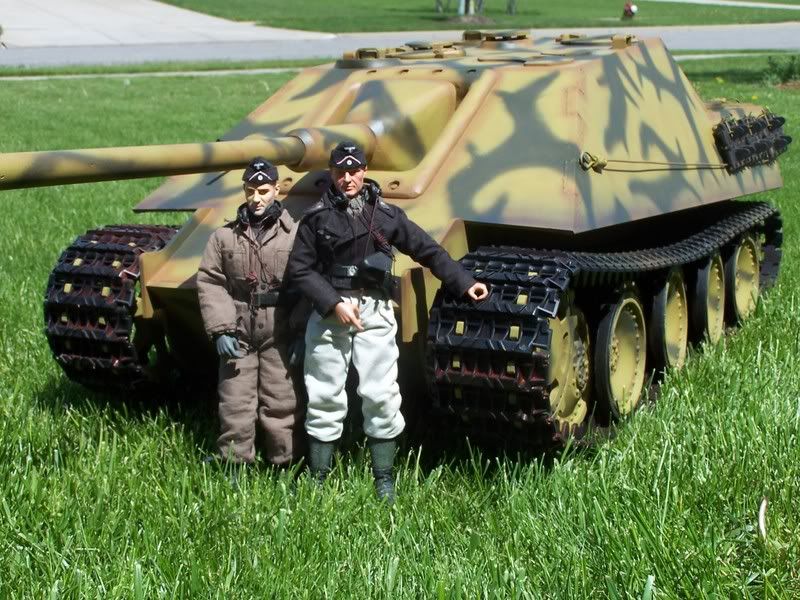
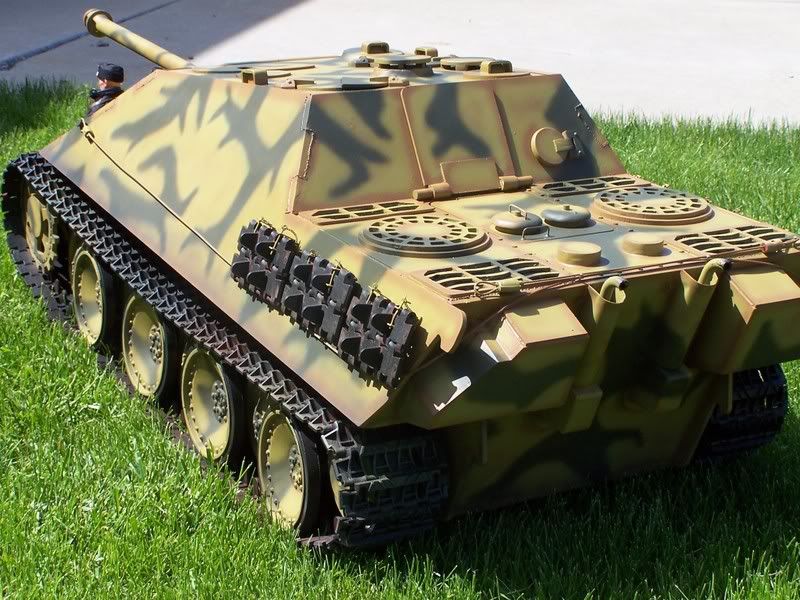
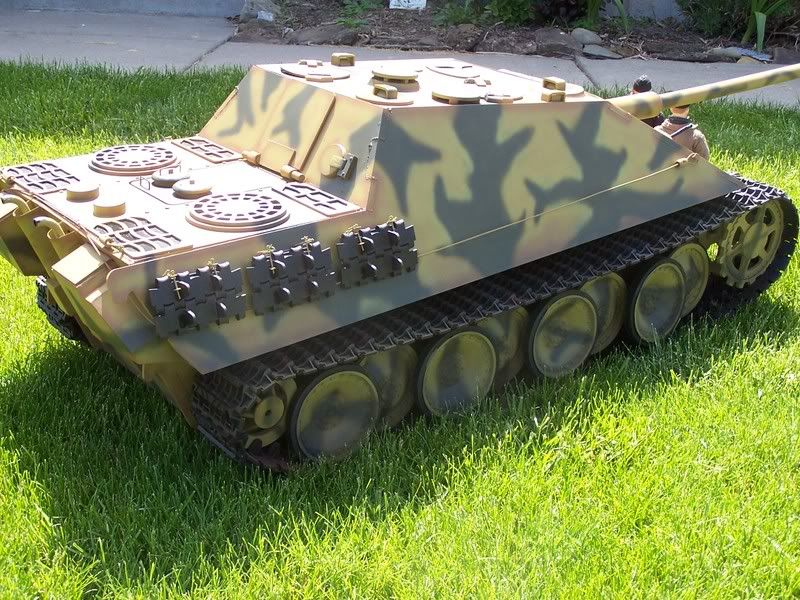
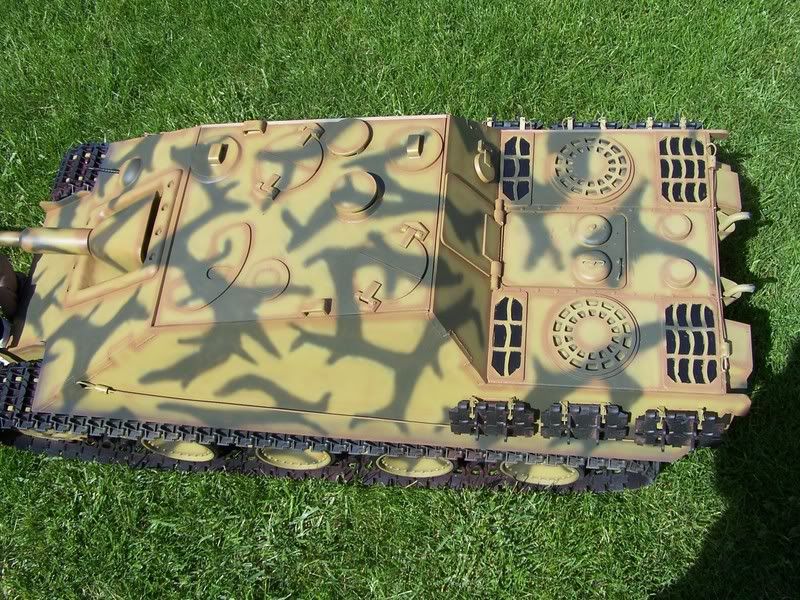
This is from the prototype run Mike P. and I had done a while back. It's taken me quite some time to get things going. I had a lot to correct since I made a few large mistakes. After a lot of work I've finally got something to show for it! Here she is in paint, well a basecoat anyway:
100_2544.jpg

100_2543.jpg

100_2542.jpg

100_2545.jpg

100_2548.jpg

100_2546.jpg

100_2547.jpg

100_2552.jpg

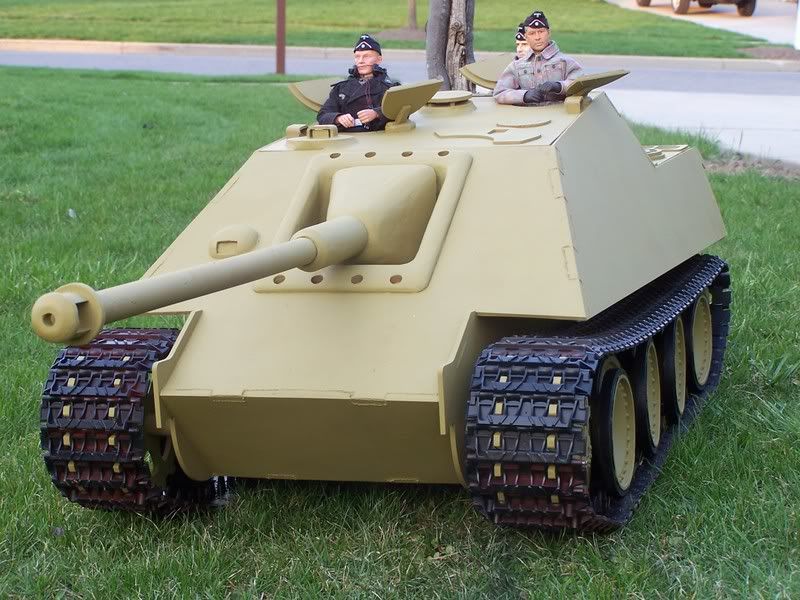
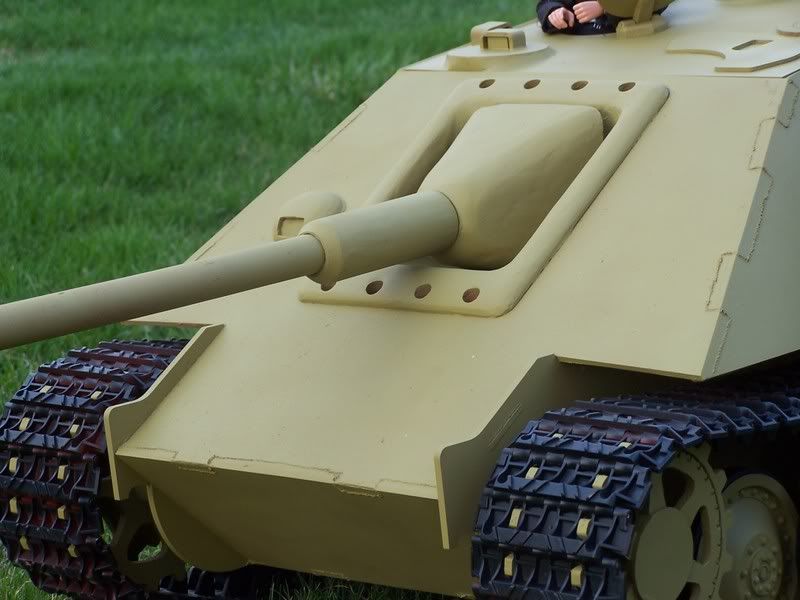
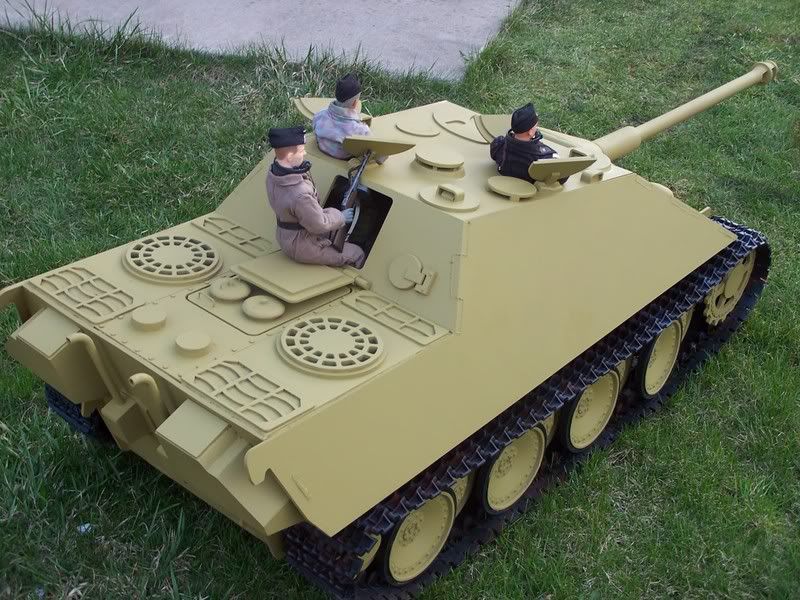
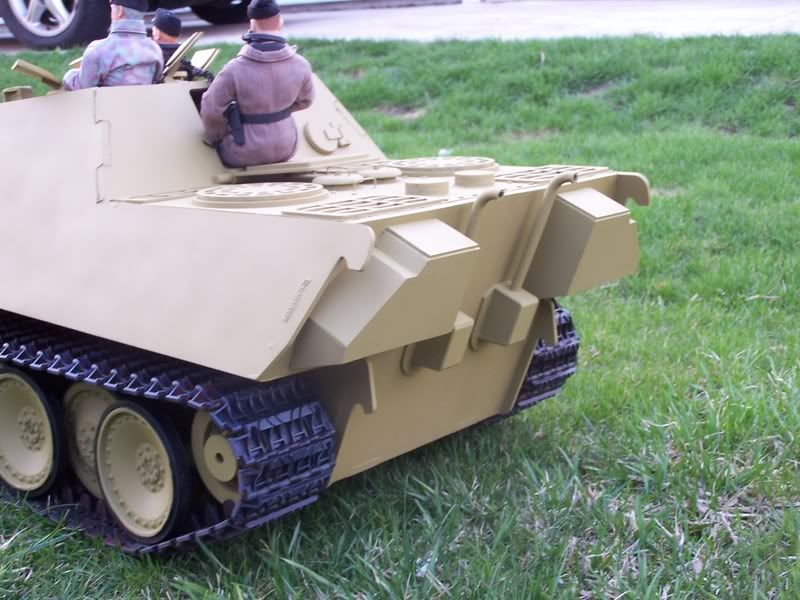
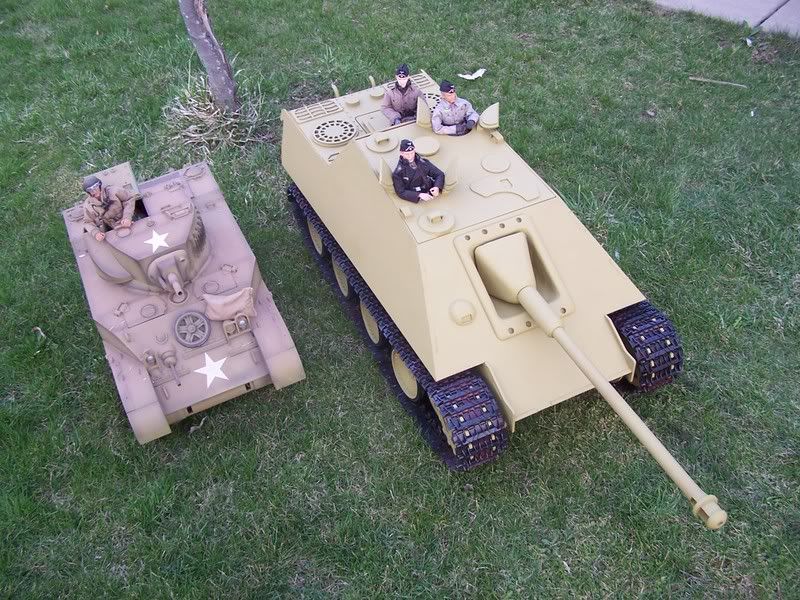
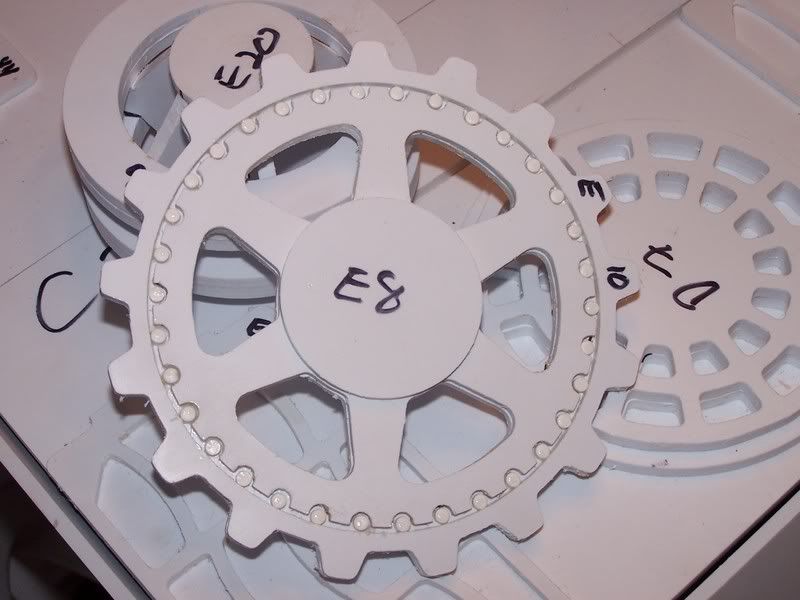
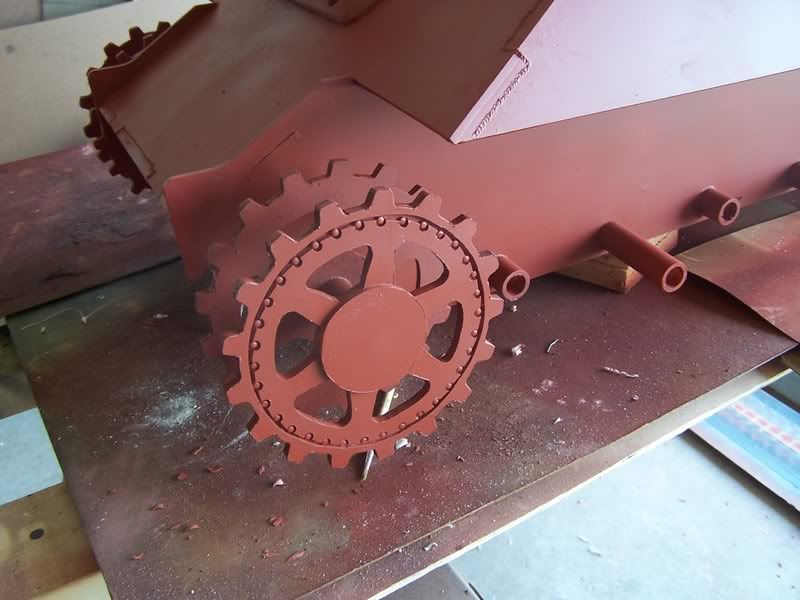
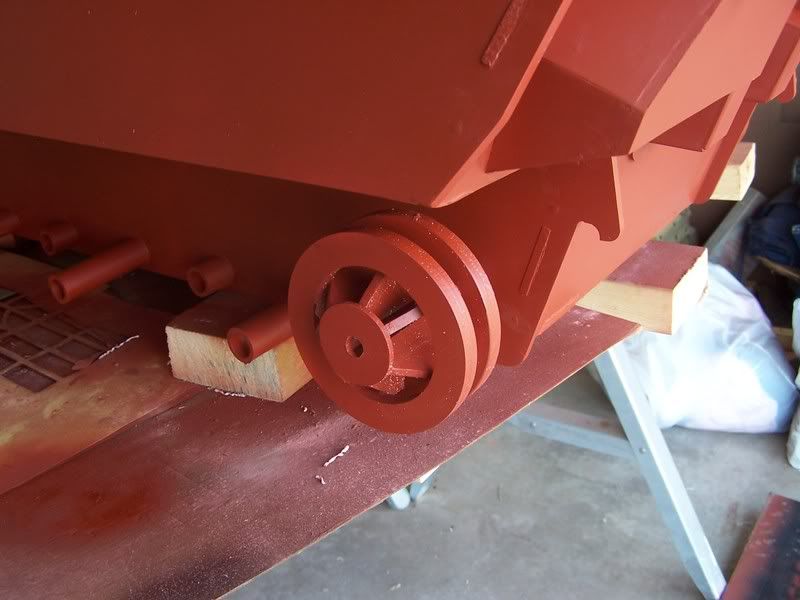
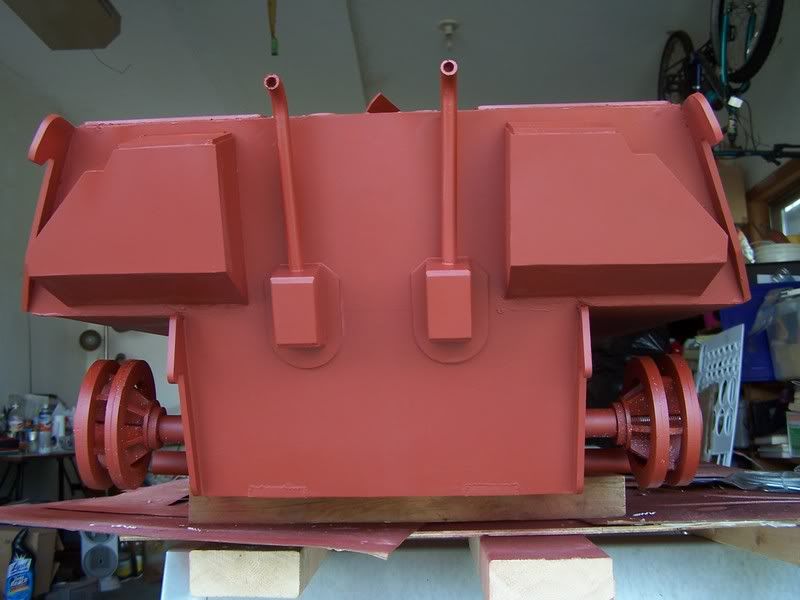
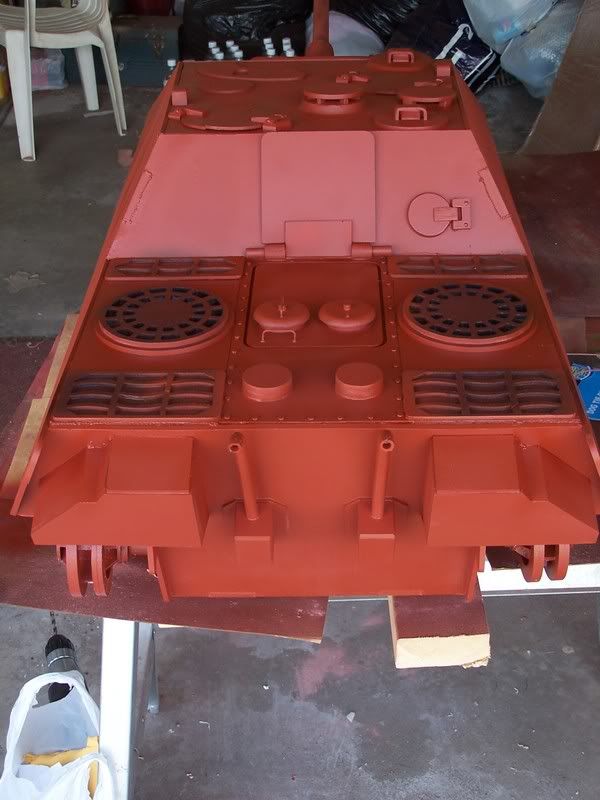
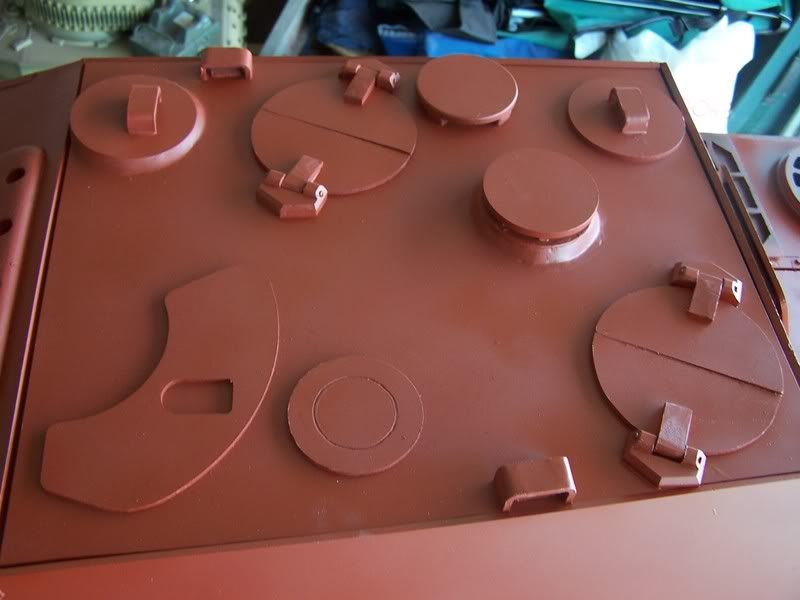
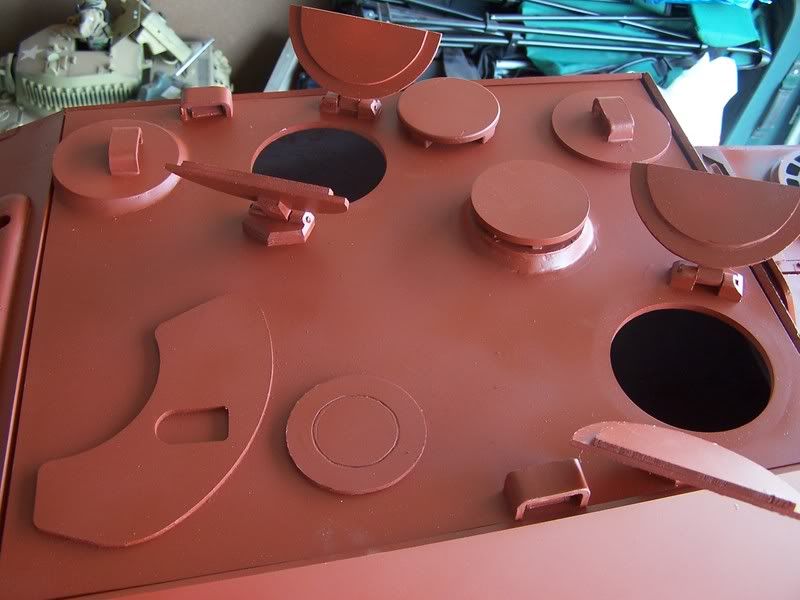
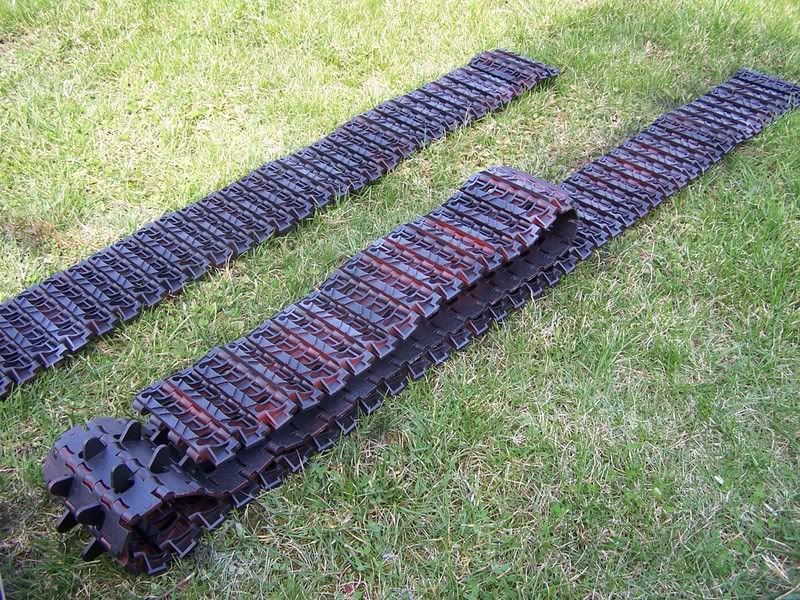
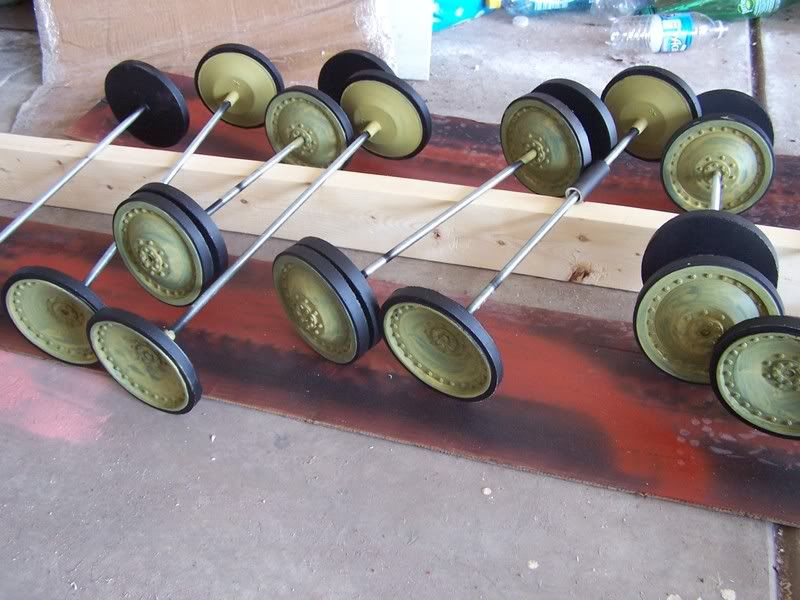
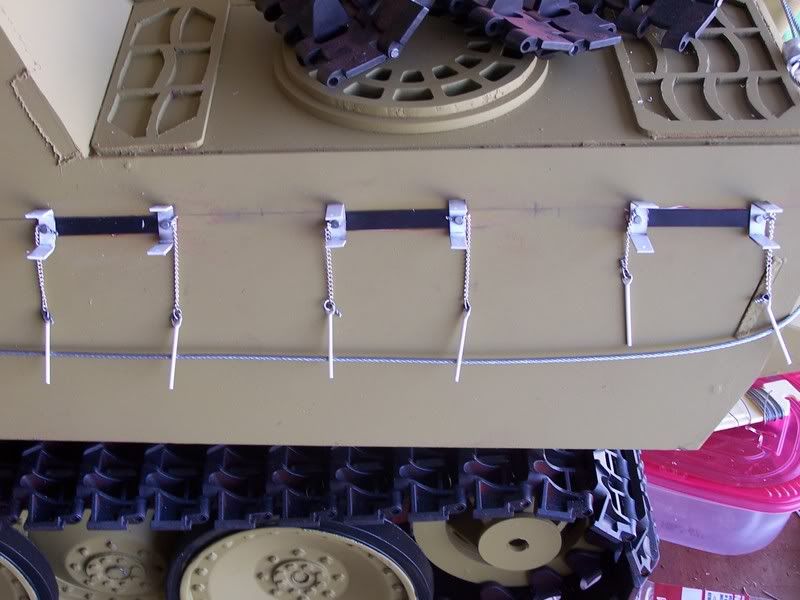
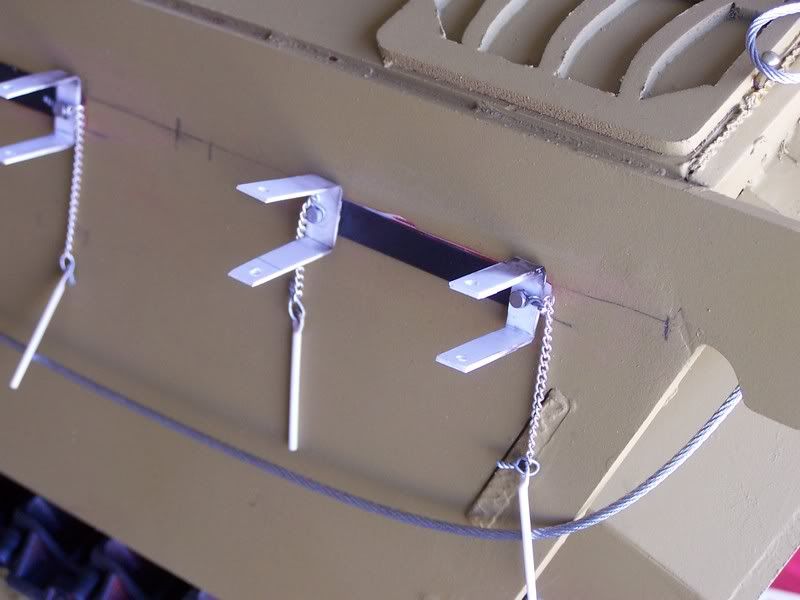
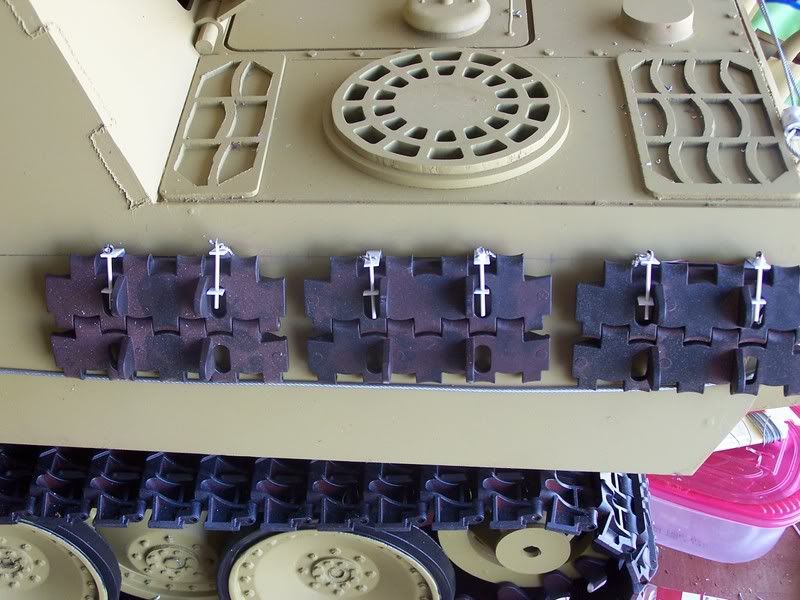
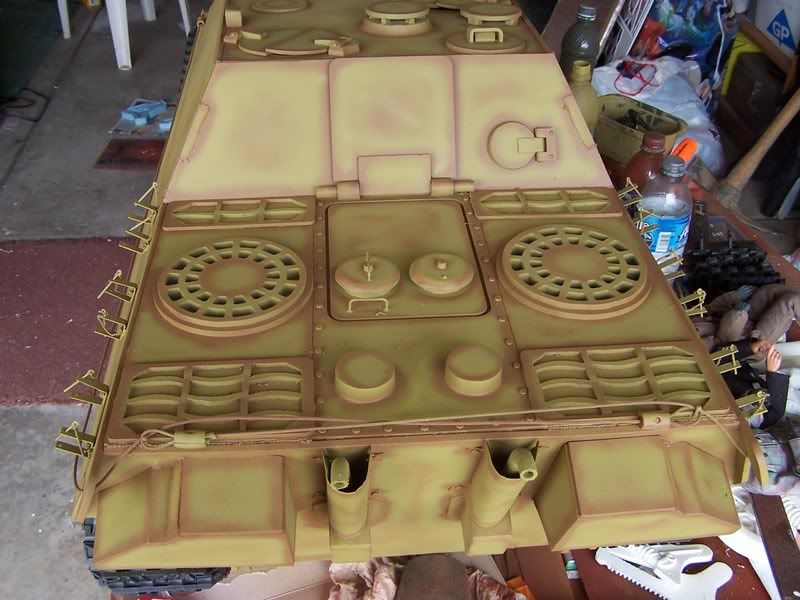
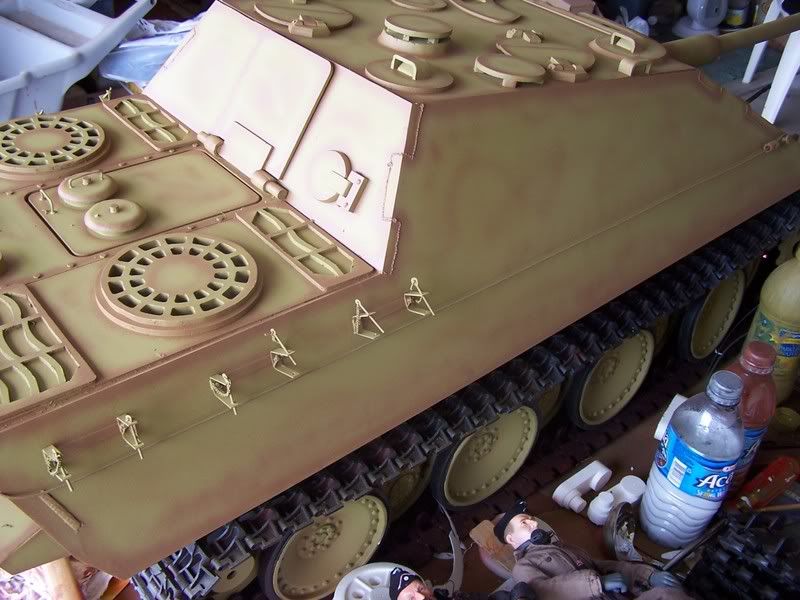
Sporting Battle Ready Armor panther tracks (bought loose from Great Models), Battleground Vehicles roadwheels, and a number of scratch built detail parts. The stuart shot is just to give a size comparison. You may notice some gaps as the roof has to be reshaped since it doesn't fit quite right yet so it isn't secured. I'll post some of the "WIP" pics in a little bit...
 
Here's what I started with:
100_2405.jpg

100_2406.jpg

100_2407.jpg

100_2408.jpg

100_2414.jpg


In these pics you can see some of the markings for material I removed:
100_2418.jpg

100_2419.jpg

100_2421.jpg

100_2422.jpg


Taped together hull after modification:
100_2424.jpg


Beginning of the build process:
100_2427.jpg

100_2429.jpg

100_2430.jpg

In the above pics you can see some of the lines where material was removed. Also you can see that I used the plastic I cut out to reinforce the backsides of the new seams.

Glued up hull with Roadwheels and beginning detail parts:
100_2465-1.jpg

100_2466-1.jpg

100_2469.jpg


Idler and drive wheels:
100_2470-1.jpg

100_2473-1.jpg

100_2474-1.jpg


Mantlet made of air-dry clay, tub is plastic with clay and putty to round out the seams. Mantlet ring is from the kit shaped with my dremel and putty:
100_2476-1.jpg


The vehicle in primer:
100_2525.jpg

100_2527.jpg

100_2519.jpg

100_2520.jpg

100_2521.jpg

100_2522.jpg

100_2524.jpg

100_2532.jpg

100_2534.jpg

100_2523.jpg

100_2530.jpg

100_2531.jpg

100_2528.jpg

100_2529.jpg

100_2535.jpg

100_2536.jpg


Simulated weld seams. Done with gel superglue:
100_2515.jpg

100_2516.jpg

100_2518.jpg


There's a lot of work I've sort of glossed over here but I've had to rework a number of parts and scratch build things that weren't yet included. The drive gear had to be specially cut to fit the BRA tracks as the cut version is too small for their tracks. Thanks for looking...
 
I saw the teaser over at the 6th and was excited to find this picture loaded thread. She's a beaut for sure!!!!
 
Wow! Nice build! You really did a great job on this project. Sprockets, mantlet, rear deck, hatches, all look crisp and clean. Bravo!


Mark.
 
What a great job ! from sheet plastic to a big cat. Awesome ! You have to have alot of patience doing 1/6 from scratch. Takes along time but the finished product is very satisfying.
The kits turns out ...amazing!
 
PRICE FOR THE NEW KITTY AND RELEASE DATE

I was curious if a price for the standard kit has ben set and are orders being taken? You built a fine piece of armor there :!:
 
Thanks everyone! It took a lot of work to get the pieces modified to fit properly but it was still easier than cutting everything by hand. I had to cut the engine vents (not the round ones, thank Jebus!) by hand since I oversized them originally. That was a pain in the butt!

I'm trying to include as much detail as possible for the roof and rear deck but I don't have a list of all those parts right now. Full details will be release in the appropriate area when we start taking orders (soon, I hope). Price should be about $250 for the flat kit, but don't quote me on that. We'll probably be going with waterjet this time around. Mike and I secured a limited number of sets of the Battleground Vehicles rotomold panther wheels (yes, those are the rotomold wheels on mine) but I'm not sure how many sets we have at Mike's house or what we'll be charging for them. Details will be released as we work things out. Thanks for your patience folks...
 
Added exhaust guards to the rear end today. They are made out of aluminum from pop cans. Here's how I did it.

Tools:
100_2660.jpg


Cut up and squared can:
100_2662.jpg

100_2664.jpg


Folding:
100_2669.jpg

100_2672.jpg

Top/bottom edges are folded over twice. The sides were folded in to provide rigidity and smooth edges.

My pattern:
100_2673.jpg


Mounted:
100_2678.jpg

100_2679.jpg


If you try similar be sure to be extra careful with sharp metal edges. Luckily I didn't cut myself making these. I did tear one of the brackets trying to drill the screw holes. Realized I needed to use an awl first. In total these took me about 30-45 minutes from idea to primer. Thanks for looking....
 
I put on big nails to attach the tow cables yesterday and I built the spare track holders on both sides of the hull today. They are currently drying from paint but here are the pictures before primer or paint:
100_2693.jpg

100_2694.jpg

100_2695.jpg

100_2692.jpg

100_2697.jpg


When the base coat dries (the new stuff) I'm going to seal everything, weather a little, and put some camo on. I'm thinking green only but the pictures I had saved of the pattern I liked were on my now deceased laptop...
 
Hi
I´m stunned again :shock:
What a project!! Its really nice to follow
you´r scratch build work here . But I can not
image how many hours threre is on this Jagdpanther.

Even so its inspire one, to try out some day.

Exellent work.

Falckner
 
Great Job, One of these days maybe I can build one also. Will have to come back and check your build. Can't wait to see it all painted up.
GB
 
WOW, great work and I keep getting into trouble with the wife as she is mad because I am sitting here staring at your pics and drooling on the computer keyboard. You do some great work and love the pics so thanks for sharing. :!:
 
Thanks for the encouragement folks. Here are the newest pics from painting yesterday. I'm not sure if I'm happy with the paint job yet. I may go back and add some red-brown highlights to the edges of the green camo.

Preliminary edging:
100_2700.jpg

100_2698.jpg

100_2704.jpg

100_2707.jpg

100_2705.jpg


Camo'd:
100_2709.jpg

100_2710.jpg

100_2711.jpg

100_2712.jpg

100_2713.jpg

100_2714.jpg


Next step will be unit markings, once I decide who I want to assign the vehicle to...
 
Back
Top