• Pardon the dust while the boys rebuild the site.

    The board will be in a state of disarray as I get things sorted out, for a little while at least.

    The new incarnation is using Xenforo as the system software. It is much like what we are used to, with a few differences. I will see about making a FAQ to help point out the differences for the members.


    One IMPORTANT difference for all of us old timers is that the 'mail' system is replaced with what are called 'conversations'/

    There is no 'Inbox' or 'Out box' or 'Sent' folders anymore.

    Think of Conversations as private 'threads' or topics that don't exist in a forum, that you start with another member. NOTE: Conversations can include more than one member if you or someone else in the conversaion, likes.
    Takes a little getting used to but I am sure you all can get a hang of it.


    Only a slightly modified default default Xenforo style is available for now. Once the new SAG style is ready it will be available.

    All existing users should be able to login with their usernames and passwords once the site goes up.


    If anyone has difficulties logging in please contact me at sixthvanguard@gmail.com.


    Thank you for your support and patience. I know it has been a loooong road.

PAK 36 Build

ROB48

Company Commander
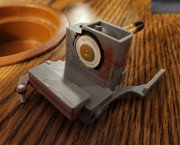
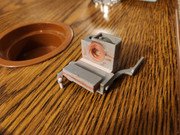
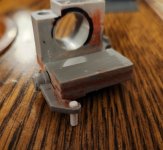
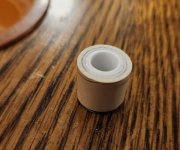
Been a long time since my last post. My wife's mother passed away in December 2022 right before Christmas. I caught COVID for the 2nd time last year. Got a blood clot in my leg from it. Thought I was doing better, then I started to feel funny. Turns out, COVID messed with my heart rate. Took meds for it, but side effects were too much. Had to have a procedure to correct it. Caught COVID for the 3rd time a few weeks ago (I have had all the shots). I have been looking at the board but have not been in the mood for any builds. A good friend of mine gave me a PAK 36 model kit for Christmas. I started feeling better, so I have started on it. As usual, I noticed a few things that needed fixing. The first thing was the breech opening. It is way too large for the 37 mm round. I started by inserting a PVC piece first then started to step it down with styrene tubes until I got what I think is the correct size.
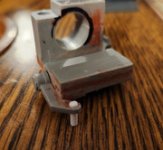
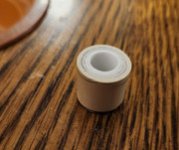
Breach-1.jpg

Breach-2.jpg

Breach-3.jpg

Breach-4.jpg

Breach-5.jpg

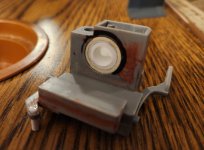
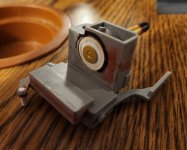
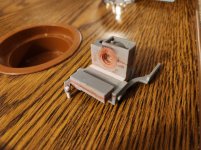
I filled in the backside of the breech block and added the ejector and safety selector.
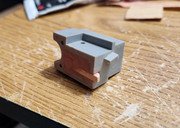
Breach-6.jpg
 
Last edited:
Te acompaño en el sentimiento por tu perdida.... Lo del covid es una puta... Maldito bicho.... El PAK de momento tiene muy buena pinta
 
Sorry to read your troubles, hope you're on the mend now.

Nice work on the breech!

BTW: the new forum allows for bigger pictures, which helps those (like me) with mediocre eye-sight...
 
I noticed they were smaller than before, so I guess I will ask a dumb question - how can I increase the picture size? I just copied and pasted them from the same storage site I have used in the past.
Bob
 
I noticed they were smaller than before, so I guess I will ask a dumb question - how can I increase the picture size? I just copied and pasted them from the same storage site I have used in the past.
Bob
Bob, let's use your test post to figure it out. I will reply there.
 
Hopefully, these are bigger.
Breach-1.jpg

Breach-2.jpg

Breach-3.jpg

Breach-4.jpg

In this photo, you can see that I carved out the opening so that the round can be seated flush. This way, the breach block can open and close without catching on the round.
Breach-5.jpg

Breach-6.jpg
 
Last edited:
This is the work I did on the base.
Base-1.jpg

Base-2.jpg

Base-4.jpg

Base-7.jpg

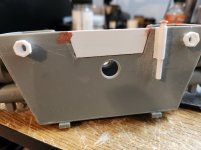
I added the plunger that holds up the lower shield when being transported
Base-8.jpg

Base-5.jpg

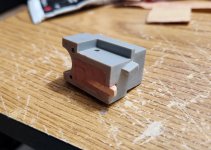
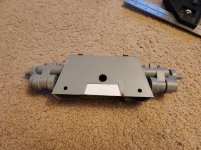
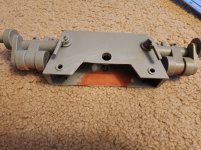
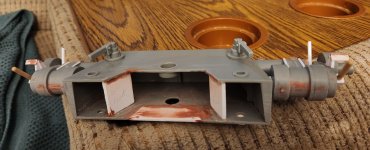
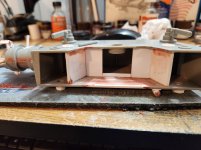
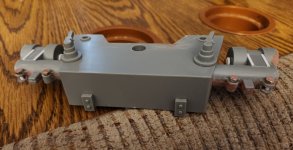
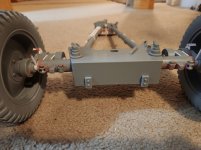
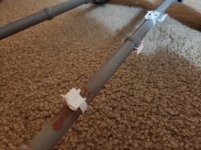
Added the handles that lock the suspension arms in place. On the original kit, the suspension arms are raised. I cut them and made them level with the gun. I added the handles that lock the arms into place for this purpose. I glued the long gray piece on the top of the base to help level the gun because the gun tends to lean that way as most of the weight is on that side.
Base-6.jpg
 
Last edited:
As I went along with this, I noticed mistakes that I made so some of the early photos don't actually match the finished build. These mistakes and corrections will be apparent when I post the finished build.
 
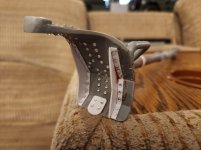
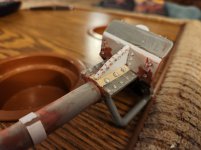
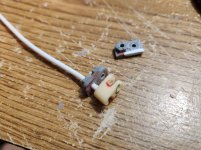
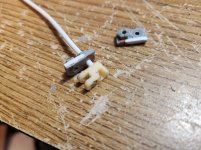
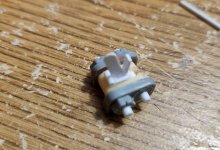
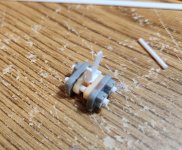
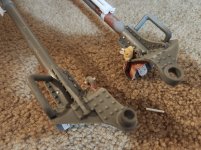
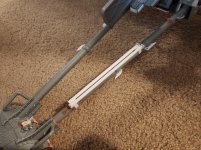
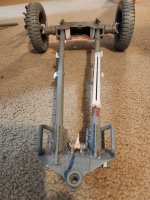
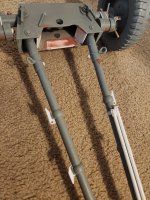
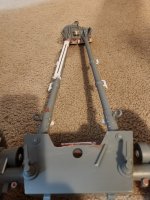
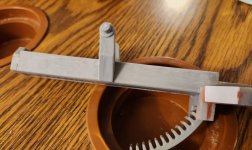
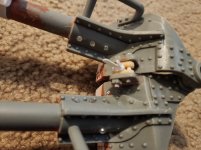
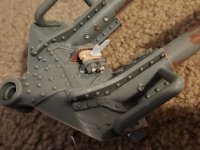
The trailing arm lock is obviously not correct. Photos of the lock are hard to come by and understand how it works. I came across several photos and a video and this is what I came up with. It also actually works. Not 100% accurate, but better than the kit.
Lock-1.jpg

Lock-2.jpg

Lock-4.jpg

Lock-5.jpg

Lock-6.jpg

Lock-9.jpg

Lock-10.jpg
 
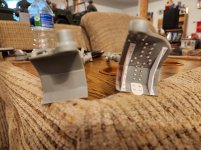
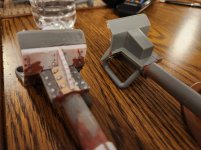
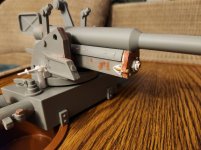
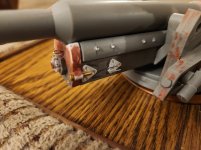
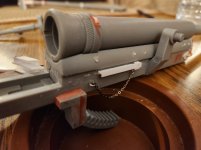
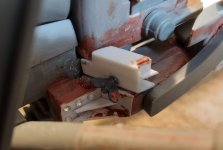
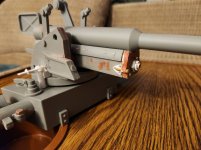
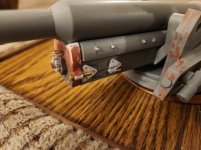
More work. I sanded off the molded nut things that were on the sides and added the parts that should be there. Added the recoil gauge and the travel lock for the gun carriage. I also grounded a lot off the outer edge of the gunner's shield. It was way too thick.

Cradle-1.jpg

Cradle-2.jpg

Cradle-3.jpg

Cradle-4.jpg

Cradle-8.jpg

Cradle-2.jpg

Cradle-3.jpg

20240107-192201.jpg
 
Back
Top