pzrwest
Brigade Commander
A fellow 1/6er, Portico, gave me a Hasbro Airborne figure, and I thought I would start to work improveing the figure. To start off I thought I would start off with improveing the Hasbro Helmet. First I removed the raised inerior chin strap bosses, and sand the interio smooth. I didn't have any paste floor wax to act as a mold release to prevent the epoxy from sticking to the interior but though.. I have some Sno-Seal which has a bees wax base so used that instead. The following pics and headings show the progress so far. I'm pleased with the results and the interior webbing and suspensions will hide and roughness in the interior of the liner. Here are the pics, more to follow as the work progresses
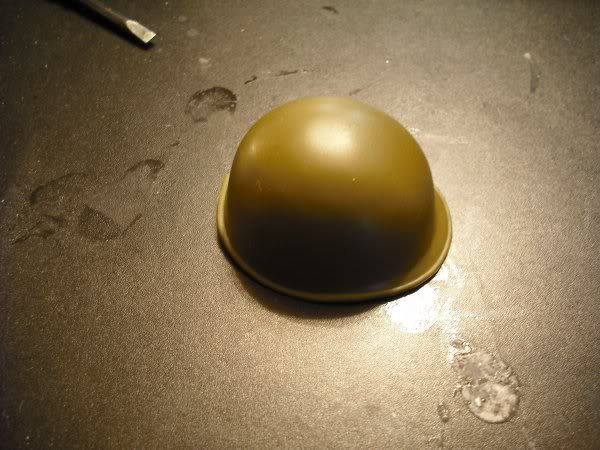
Hasbro helmet exterior
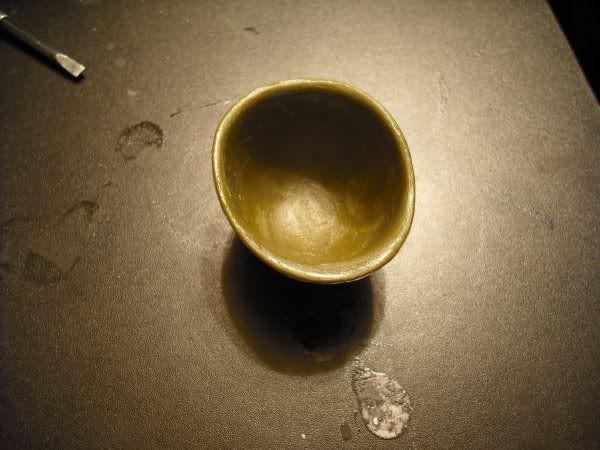
Here is the interior with the strap bosses removed and a good coat of SnowSeal
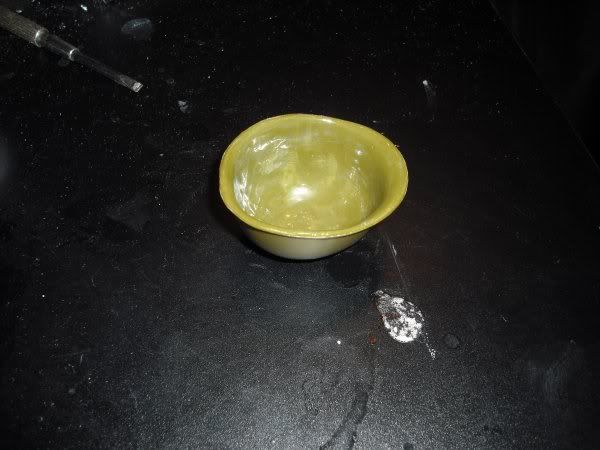
Helmet interior with the 1st coat of 5 minute epoxy
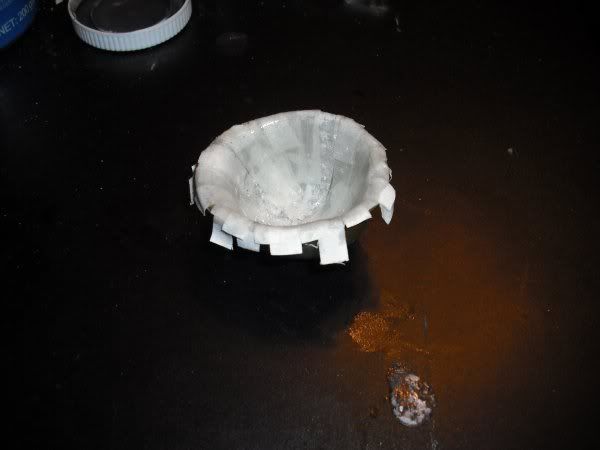
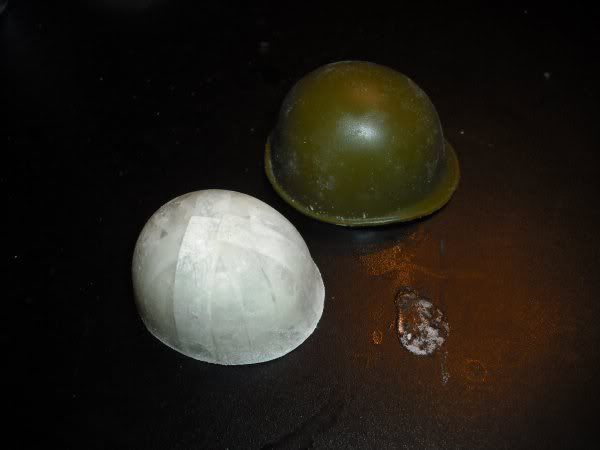
interior with second coat of epoxy and strips of Photofabric applied
exterior of epoxy liner removed and trimmed
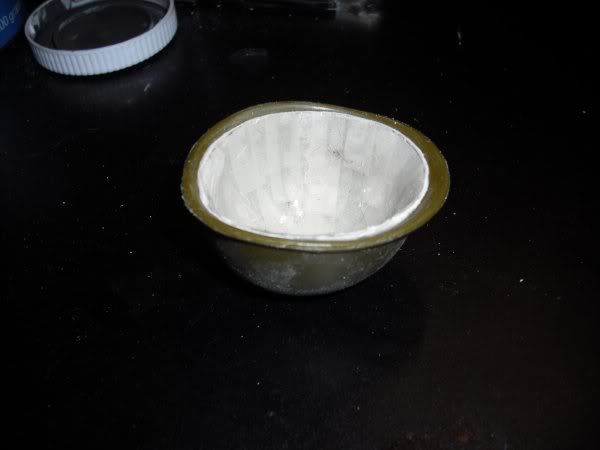
Trimmed liner test fitted
liner and outter shell with olive drab paint applied
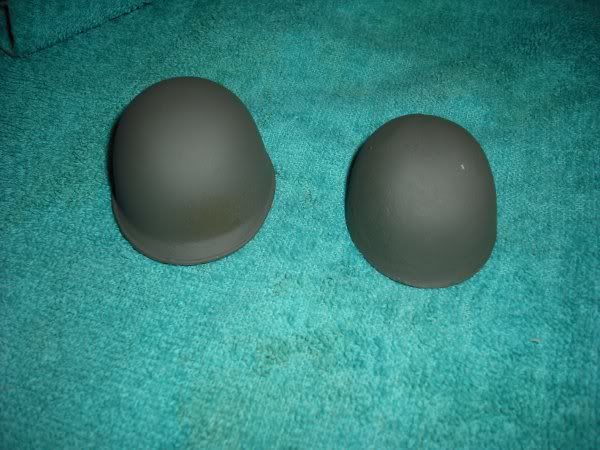
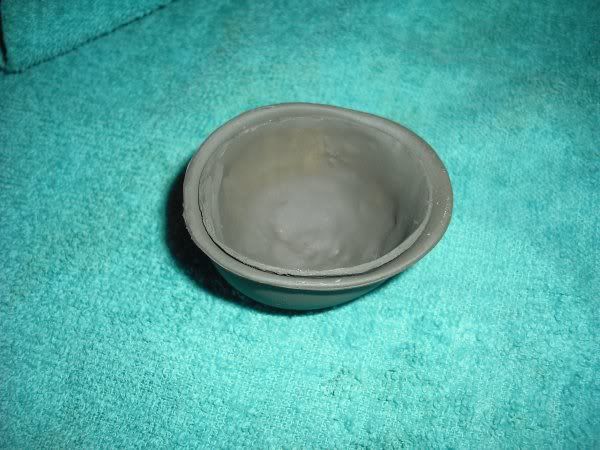
liner and shell together after paint has dried
Hasbro helmet exterior
Here is the interior with the strap bosses removed and a good coat of SnowSeal
Helmet interior with the 1st coat of 5 minute epoxy
interior with second coat of epoxy and strips of Photofabric applied
exterior of epoxy liner removed and trimmed
Trimmed liner test fitted
liner and outter shell with olive drab paint applied
liner and shell together after paint has dried