If I can do it, anyone can!
You will need:
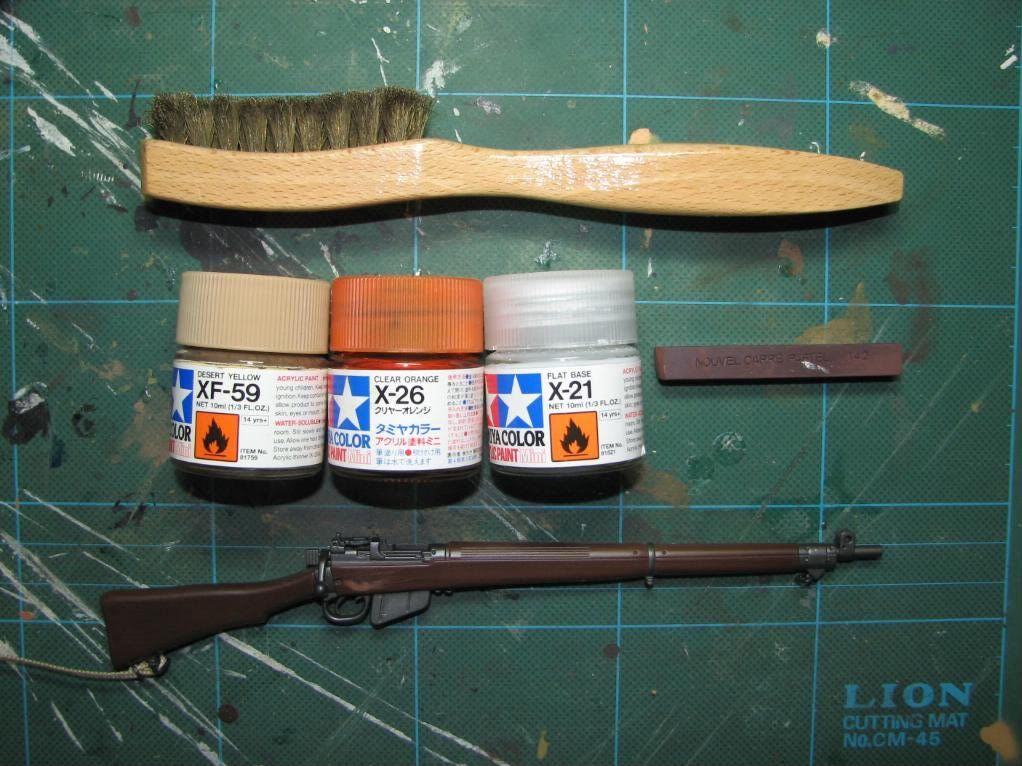
The starting point:
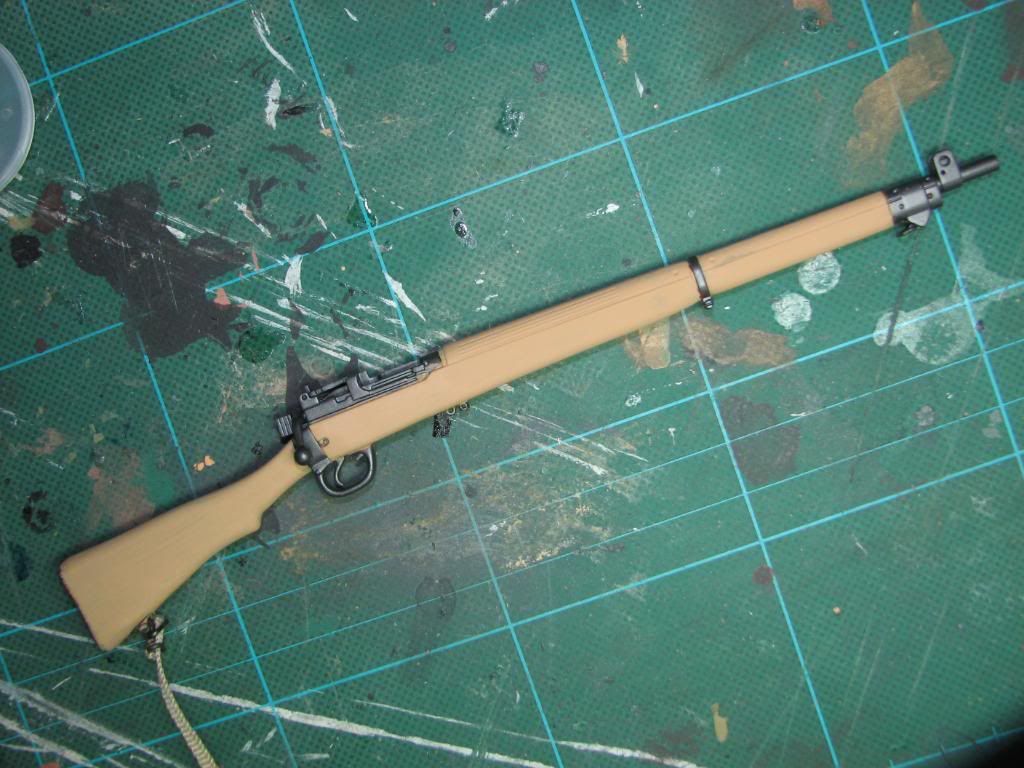
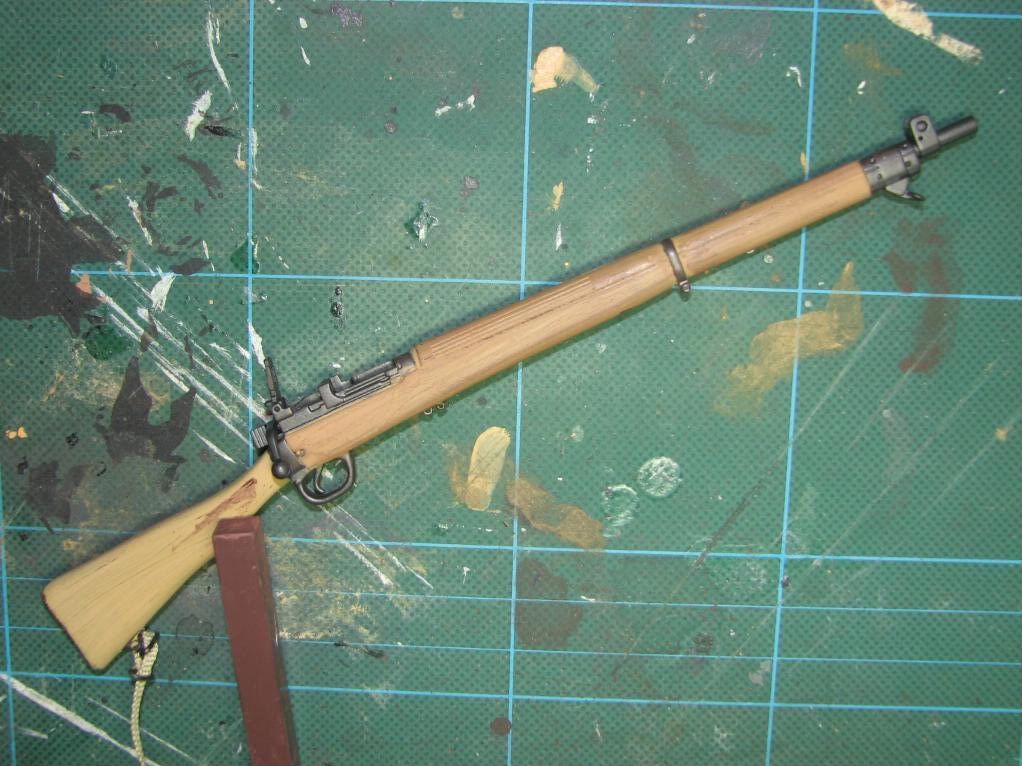
Step 1
Paint with Tamiya XF-59 Desert Yellow acrylic paint
Step 2
Once dry, stroke from front to back with a hard wire brush
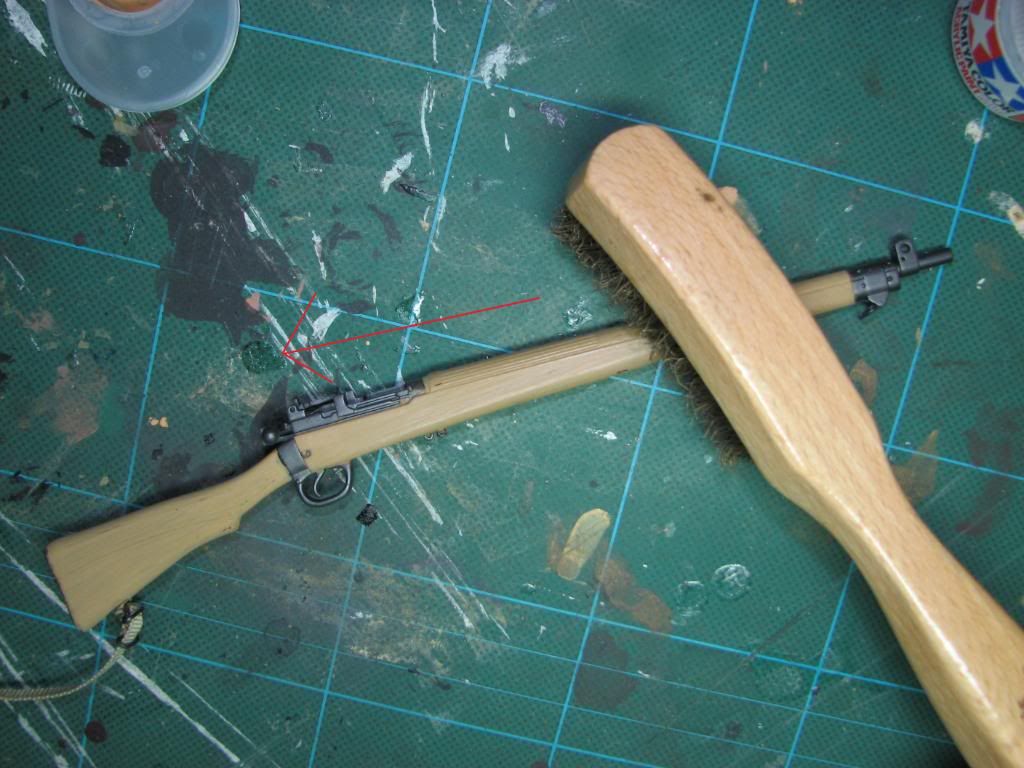
Step 3
Rub with dark brown pastel (chalk-type, not oil). Rub in with your finger
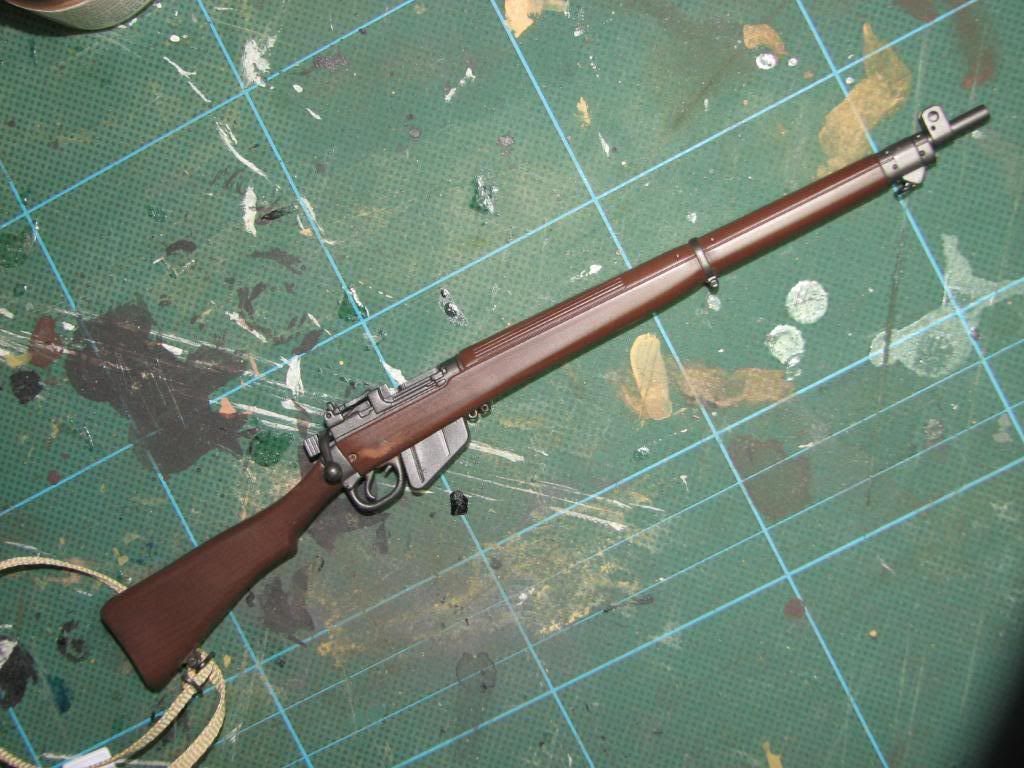
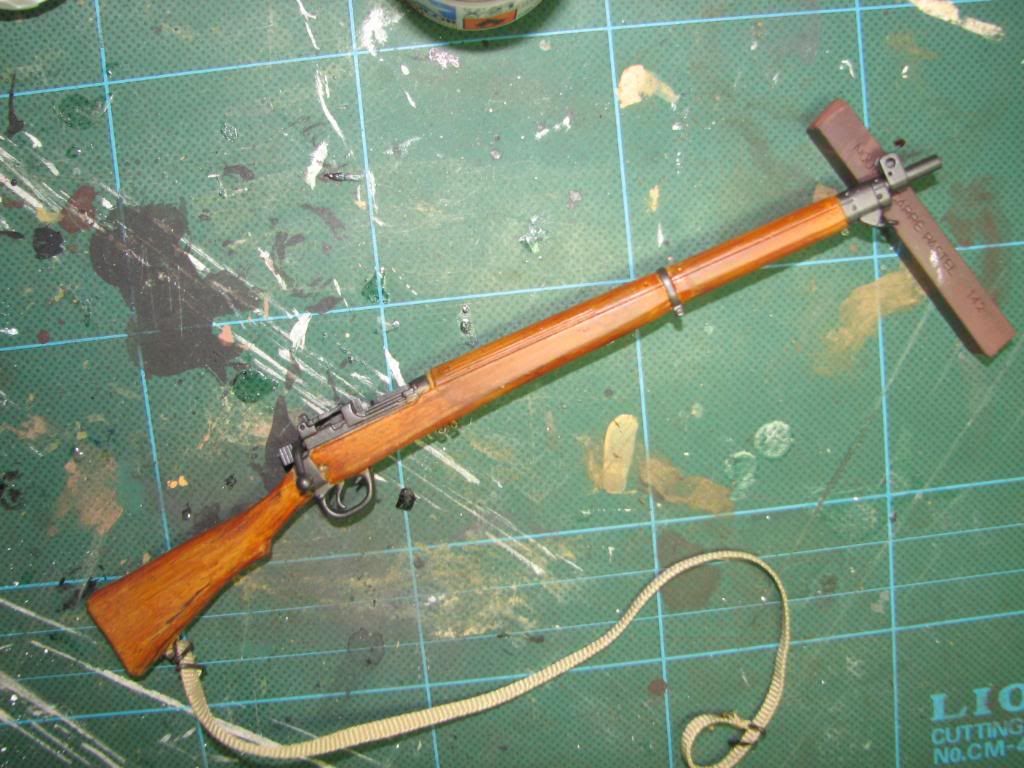
Step
Paint over with Tamiya X-26 Clear Orange mixed with a smear of Tamiya X-21 Flat Base and a little water and that's it done!
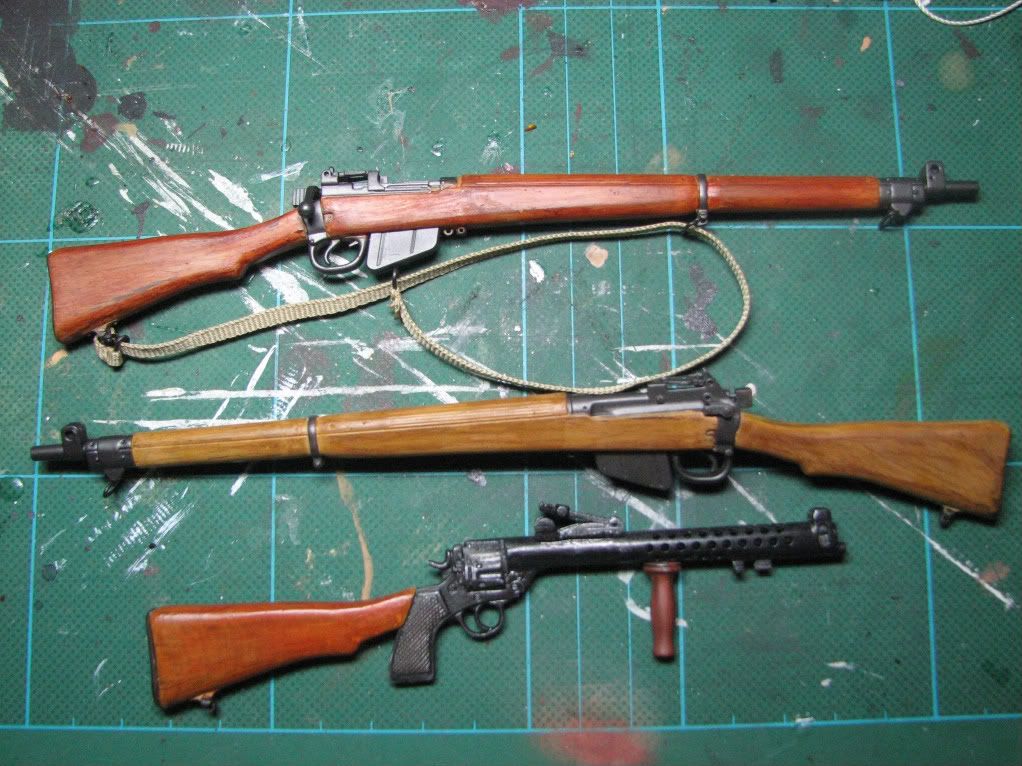
Here's a 1:1reference

Variations
Vary the finish by changing:
the Step-1 paint colour
the Step-3 pastel colour
the Step-4 clear varnish colour.
You will need:
- Tamiya XF-59 Desert Yellow acrylic paint
- Tamiya X-26 Clear Orange
- Tamiya X-21 Flat Base
- Dark brown chalk pastel
- Wire brush
- A little water
The starting point:
Step 1
Paint with Tamiya XF-59 Desert Yellow acrylic paint
Step 2
Once dry, stroke from front to back with a hard wire brush
Step 3
Rub with dark brown pastel (chalk-type, not oil). Rub in with your finger
Step
Paint over with Tamiya X-26 Clear Orange mixed with a smear of Tamiya X-21 Flat Base and a little water and that's it done!
Here's a 1:1reference
Variations
Vary the finish by changing:
the Step-1 paint colour
the Step-3 pastel colour
the Step-4 clear varnish colour.
 Results look great.