• Pardon the dust while the boys rebuild the site.

    The board will be in a state of disarray as I get things sorted out, for a little while at least.

    The new incarnation is using Xenforo as the system software. It is much like what we are used to, with a few differences. I will see about making a FAQ to help point out the differences for the members.


    One IMPORTANT difference for all of us old timers is that the 'mail' system is replaced with what are called 'conversations'/

    There is no 'Inbox' or 'Out box' or 'Sent' folders anymore.

    Think of Conversations as private 'threads' or topics that don't exist in a forum, that you start with another member. NOTE: Conversations can include more than one member if you or someone else in the conversaion, likes.
    Takes a little getting used to but I am sure you all can get a hang of it.


    Only a slightly modified default default Xenforo style is available for now. Once the new SAG style is ready it will be available.

    All existing users should be able to login with their usernames and passwords once the site goes up.


    If anyone has difficulties logging in please contact me at sixthvanguard@gmail.com.


    Thank you for your support and patience. I know it has been a loooong road.

SdKfz 250 Project

172086555.9O6qfOzn.jpg


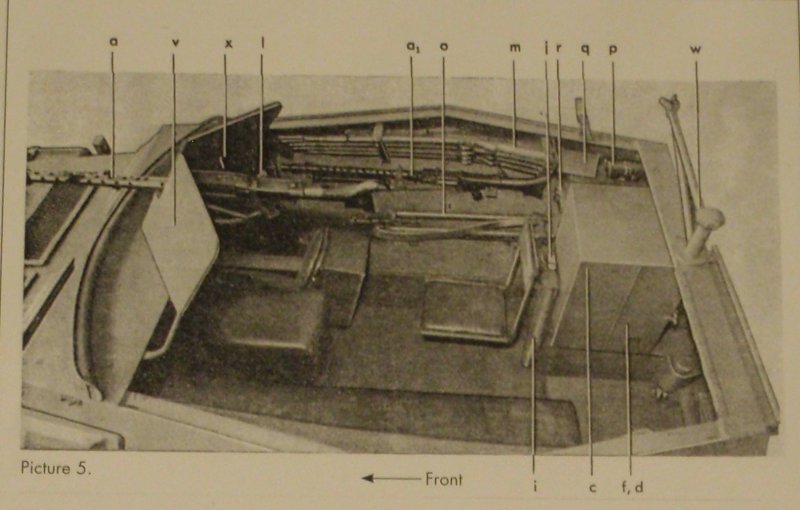
These(i) could be dual barrel cases.
172086557.QyHpl1vw.jpg


172086558.c62IpoCx.jpg
 
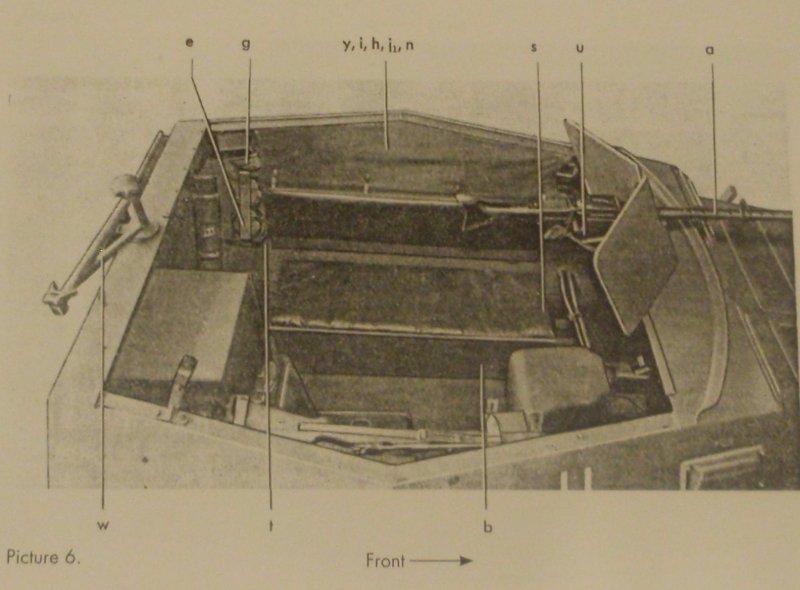
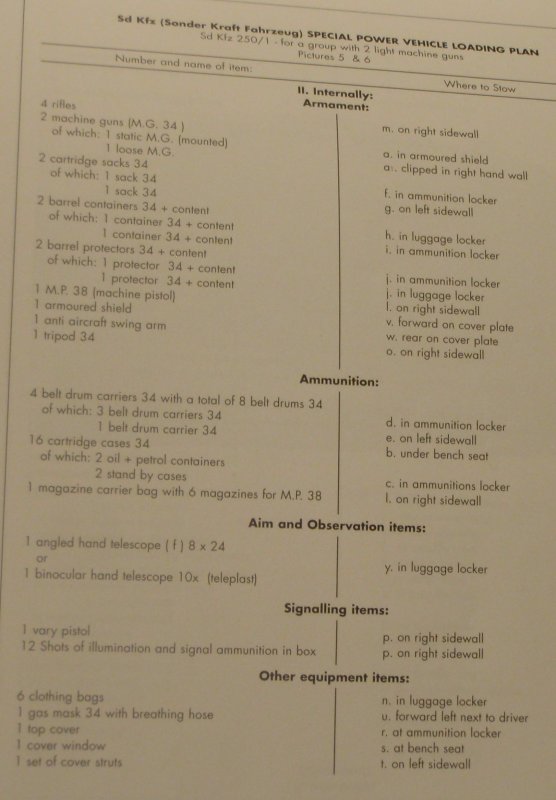
I have seen Picture 5 , but wasn't sure if the both of the containers were dual-barrel carriers. I have just seen the below two photos that sure look like both containers are dual-barrel carriers. The bad thing is, neither of the photos show how the carriers are secured in place. In Picture 5 (and in one of the photos PP sent to me), it looks like there is something over the top of the carriers to hold them in place, but surely there would also be a strap of some kind????


Last edited:
I think they would still be held in place by clips like the ones I made.
I was going to put the dual carriers there on mine but I could not find any in 1/6 scale.
 
I am making my own dual-barrel carriers. I just want to make sure I make the correct amount. According to the photos, I should make two carriers.
How did you make the clips you used?


Back of carrier. I added angled pieces to the front and back for more support and to have a better glue point to hold the tubes together better.


Front of carrier. I didn't run the angle piece all the way to the top. This space is for the indentation for the latch.


Last edited:
Thanks. Now I need to make the other one. Hopefully, they will both turn out to be the same.
 
I’m surprised no manufacturer has done the dual barrel case in 1/6th, curious, I had thought the dual barrel case opened very similar to the single barrel case, am I wrong about that, or are there different models of the case? Regardless, outstanding craftsmanship, beautiful details, this has been a great build to follow!!!
 
Thank you. I am retired and sometimes can't afford to buy all the books others suggest so I greatly appreciate all the technical info offered here.
 
It's so much fun to watch one of these 250 builds again. Takes me way back....

BTW, you are doing a fantastic job.
 
The carrier looks great. I think I may have to make some for mine now.
I made the clips out of brass with pliers(#60398) I got from micro-mark.
 
Thanks.
Just in case you want to make a couple, I have listed what I used:
The tubes are Evergreen, #230, 4 1/5" long
The angled pieces are Evergreen, #295
The horizontal and vertical rib pieces are Plastruct rod, #90854. I Super Glued these pieces while slowly turning the tubes and wrapping the pieces around. Then I cut the vertical pieces to fit and glued them in place. I was originally going to use small half-round pieces. These actually might work better because you will have more of a surface to glue.
The tubes on the back for the straps are Evergreen, #223. I also glued a tiny piece of styrene to this tube to help make it stand out a little more.
For the latch, I used Evergreen, #226. I cut a small piece off, then I cut this piece in half. Then I glued two pieces of styrene to the two ends of one of the half pieces I just cut so it basically looks like a long horse shoe. I then just cut and used pieces of styrene to complete the looks of a latch.
For the lid, I set the completed tubes down on a piece of styrene and drew around it. Then I cut this out and glued this to the top. Make sure you glue this to the correct end. The top lid should stick out slightly.
Hope this helps.
 
Last edited:
I decided to change the screw latches to be a little bit more in line with what I am seeing in pictures.


The excess screw stem will be trimmed off after everything has been painted.
 
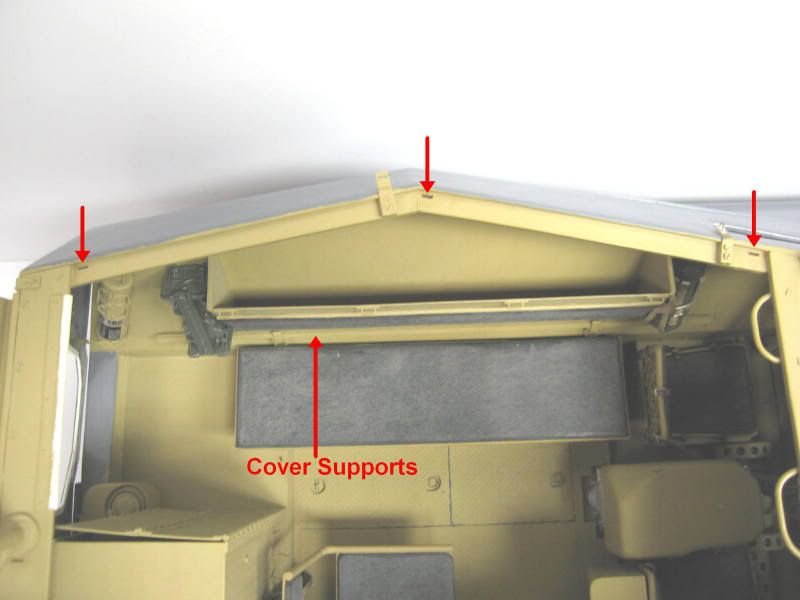
did some work tonight on the interior left side. Added the latches and tarp support slats. From what I can tell, there are three slats. One long one and two shorter ones. Also added the two front spare glass cases, the long tube (which I have no idea what it is for), and the rear ammo carrier.


I had to cut away some of the plastic at the bottom of the screw tab. This was necessary for the slats to go up under the back rest.


Not sure if this is correct, but it works.


Last edited:
The tube is for a hose that attaches to the gas mask with the filter attached and it can be hung out the open visor.
You are correct about the support slats.
CoverSupports.jpg

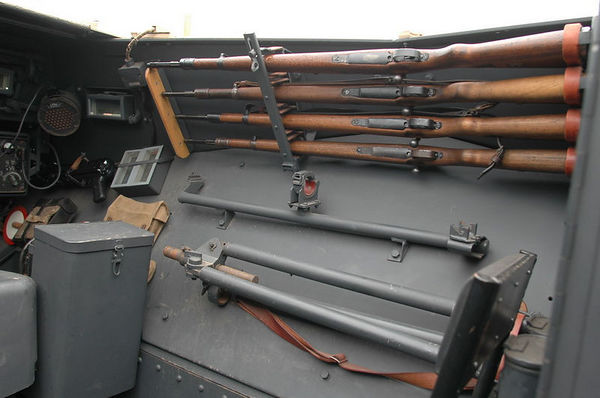
I don't know if you have seen my post on the 250 I built (sadly still not finished) but it may help with your build, especially with the rifle rack. It is on page 46.
 
Hey Kap.
Saw your build. Very nicely done. I especially like the working rear door latch. No need for me to build a rifle rack. I have one. I bought it quite some time ago. If I remember correctly, it came from Panzerwerks.
Bob
 
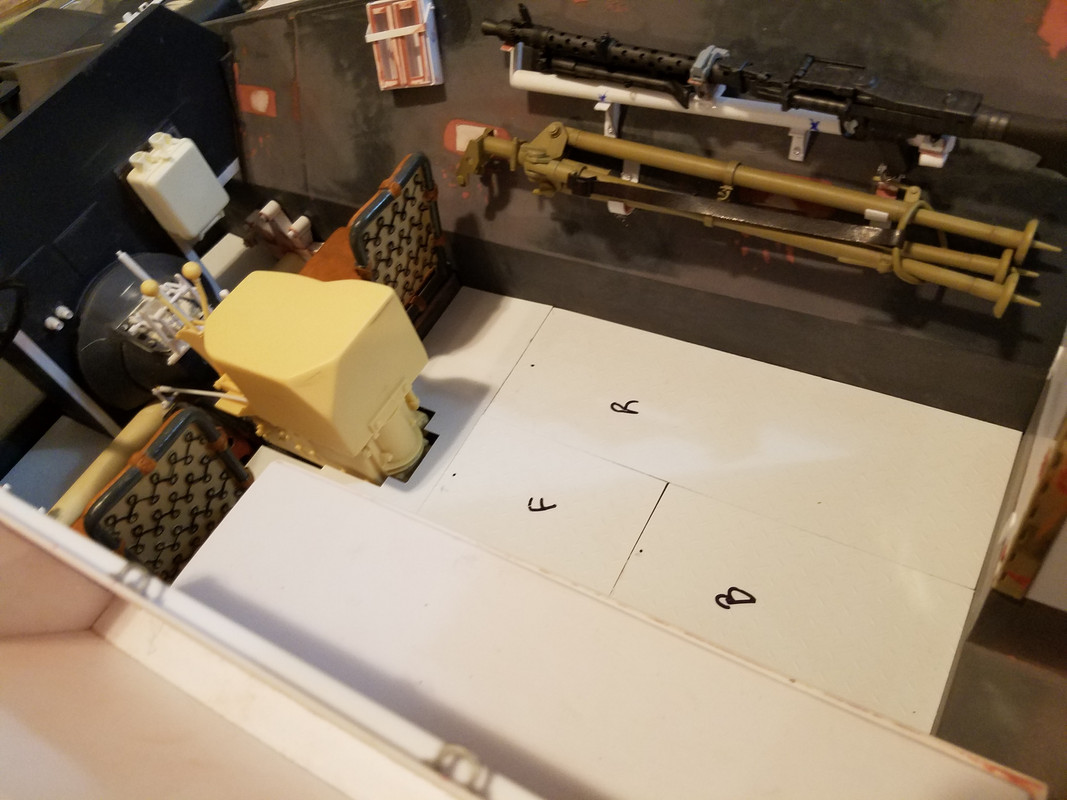
Did some work tonight on the floor.


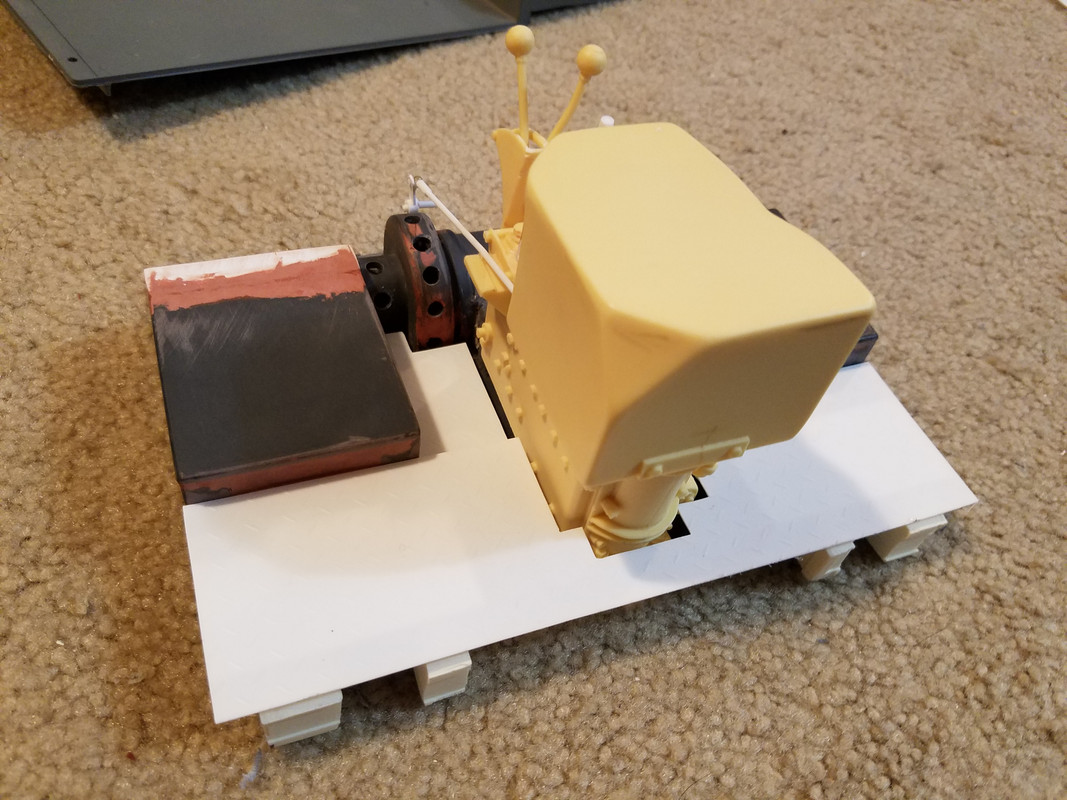
Raised the gearbox to be even with the hub.


Floor plates. I used tread plate instead of diamond plate. Can't see spending over $40.00 for one sheet of diamond plate when I can get two sheets of tread plate for $5.00.


Still need to cut out the holes for the plate latches.


Sorry the updates have taken so long. My wife's parents are both in their mid-eighties. Her mother had a heart issue recently and had to be hospitalized. My wife stayed with her in the hospital while I stayed with her dad in their home. She is on medication now and back home. Posts for this build will be sporadic.
I finished the upgrades for the rear tow hitch. I added the electrical plug for a trailer power cord. It will look better once it has been painted.


Back
Top